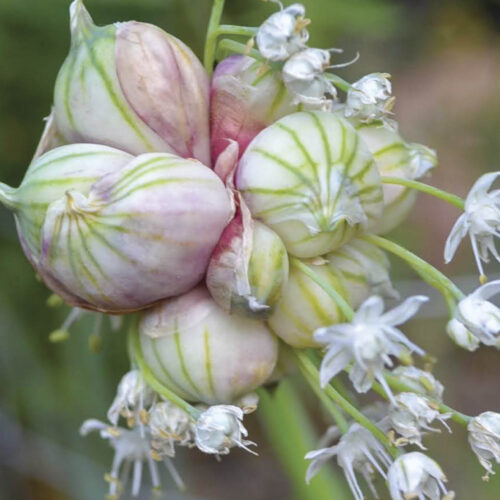
When to harvest garlic?
2011-10-27T23:15:24+11:00
To harvest, or not to harvest? It can be tricky to know when garlic is ready to be dug up, but JUSTIN RUSSELL has a simple method that doesn't involve counting leaves, and ignores the theory of set planting and harvesting dates.
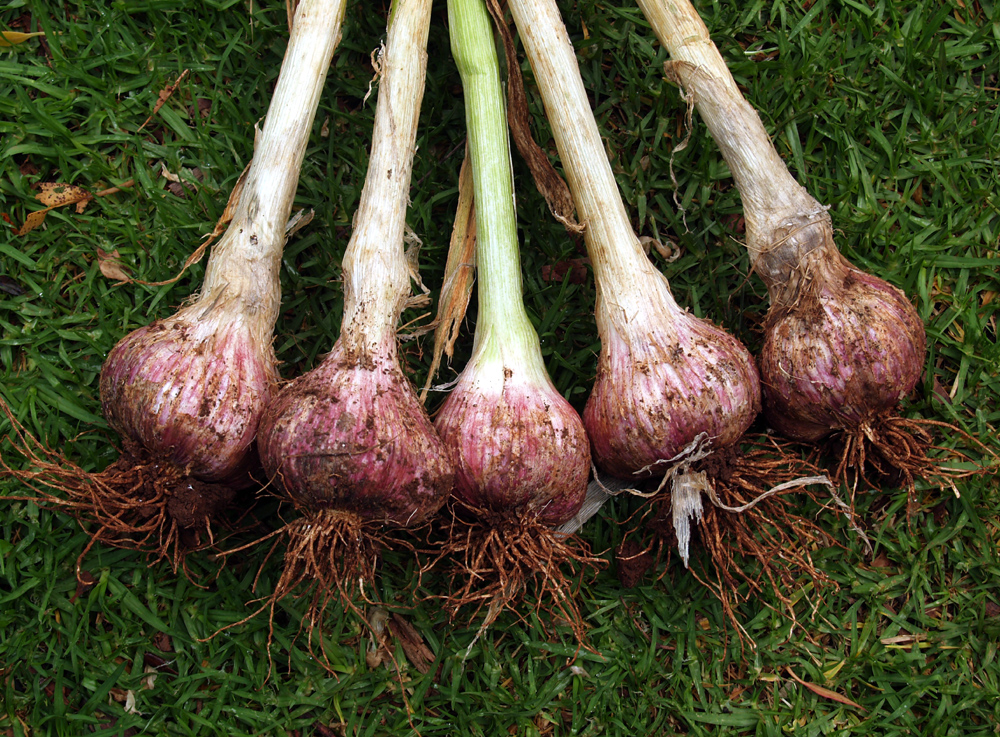
I dug my first batch of garlic from the ground yesterday. The variety, Glen Large, is supposed to be day length neutral, which basically means that it gets planted on a fixed date, forms bulbs regardless of changes in day length, and gets harvested on a fixed date. Unfortunately, experience has taught me that garlic growing is rarely that simple.
Judging when to harvest garlic is an art. Dig it up too early, and you’ll end up with bulbs so measly that they’d make an Italian chef weep with misery. But leave the plants in the ground for too long, and the bulbs of some varieties, though large, will start to split open and shoot from the cloves, ruining their storage potential.
Theoretically, I should have harvested my Glen Large in late August or early September, exactly seven months after the cloves were planted back in March. The thing is, when I checked the bulbs in late August they’re were nothing like being ready. So I waited. Now, a month and half later, the bulbs are big, and all but a couple are perfect. So much for day length neutrality.
You’ll hear garlic growers offer all sorts of theories as to when garlic should be harvested. Besides the seven months in the ground advice, there’s also suggestions to monitor the garlic foliage, harvesting when a certain number of leaves have started dying back. These suggestions have all the reliability of Bongo Van. My approach is simple. Just scrape away some soil around the bulb so you can have a decent look, and if it’s large enough, dig it up. If it still seems a bit small, leave it for a while longer.
Once your bulbs are dug, they can be eaten fresh as “wet” garlic, or cured, and stored. Most gardeners will chose the latter option, so start by choosing a warm, sunny day to harvest. Dig up the bulbs carefully, then lay them out in the sun for at least a day or two to dry off a bit. Leave the tops on, for now. Then bundle the bulbs up, and either lay them out on a rack, or hang half dozen bunches in a warm, airy place out of direct sunlight. Good air flow is vital for curing to be effective, so a covered carport or verandah might be better than a closed shed. After a couple of weeks the wrappers around the bulbs should be dry, and the garlic can have the tops, and roots removed, then stored for months somewhere cool and dark.
One final tip. Don’t forget to save your best bulbs for next autumn’s planting. Choose the fattest and best looking, label them clearly to make sure you don’t mix varieties, then enjoy the spoils of your harvest in a nice garlicy pasta, or better still, on a home made pizza along with other spring ingredients from the garden.
—————————————————————————————————
We love garlic here at OG and have quite a few articles about growing and harvesting this kitchen staple:

