The hard graft
2014-07-14T04:28:26+10:00
Grafting your favourite tomato onto pest-resistant root stock will help eradicate tomato disease, writes PHIL DUDMAN.
Tomatoes are commonly prone to wilts and other devastating soil borne diseases. A good way to avoid these problems is to graft your chosen tomato varieties onto disease resistant root stock, and it’s easy to do. Tomatoes can be grafted on to just about any disease resistant relative (i.e. a member of the Solonaceae family). That includes other tomatoes, eggplants (such as ‘Wild Malay’ – a popular rootstock in tropical areas) and hardy weeds such as wild tobacco.
Step 1: Sow rootstock
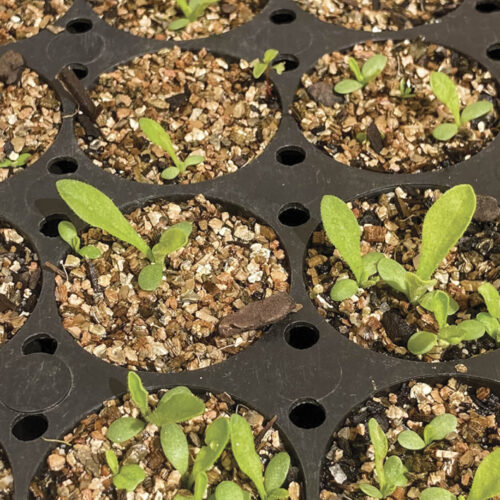
Sow the seed of your rootstock (eggplant, wild tobacco) about two weeks before your tomatoes (tomatoes are generally faster growing).
Step 2: Prepare the rootstock
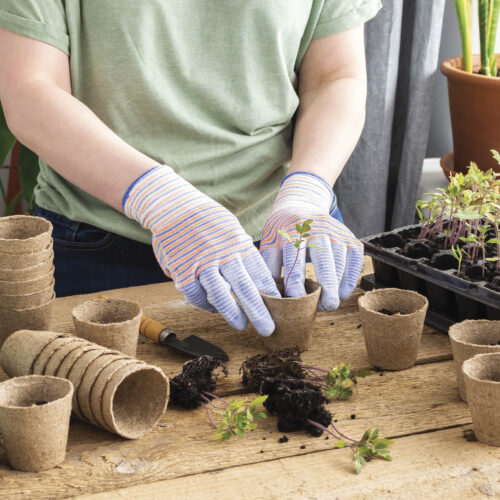
Cut the rootstock at a height where the stem matches the diameter of the tomato stem. Remove any growth below this point. Use a sharp grafting knife to make a vertical split in the top of the stem 15mm deep.
Step 3: Prepare the tomato cutting
Take a cutting of the tomato towards the growing tip at a point where the stem diameter matches the cut end of the rootstock. Cut off most of the lower leaves. Shave both sides of the base of your cutting to form a wedge.
Step 4: Insert the cutting
Insert the cutting into the rootstock making sure the outer edges of each make good contact.
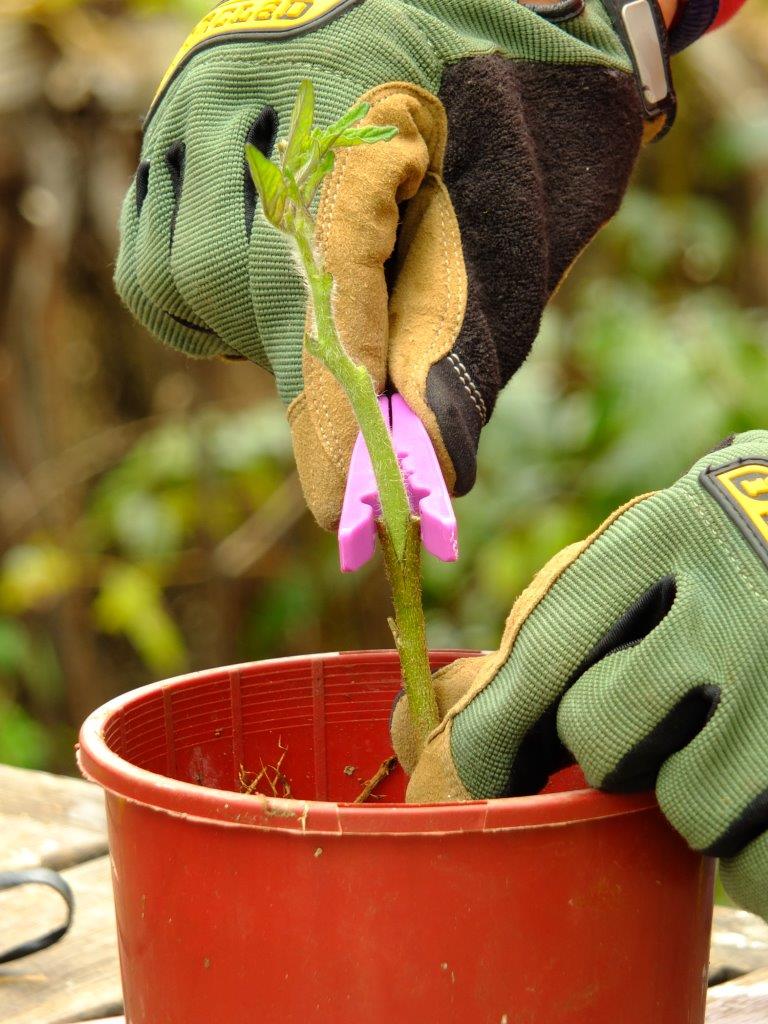
Step 5: Secure the graft point
Wrap the graft in grafting tap or use a peg to keep the graft in place.
Step 6: Cover the graft
Cover the graft with a plastic bag to maintain humidity around the tomato cutting and graft – this stops them from drying out. Place the pot in a shade house or similar protected semi-shaded position and keep the potting mix moist. In two weeks or so, the graft will ‘take’ and callus over after which the tape or peg can be removed.

