Yield ahead!
2012-04-08T06:55:12+10:00
From bottling to drying, PHIL DUDMAN and JULIE RAY give the lowdown on harvesting and preserving your bumper crops to create a year’s supply of gourmet goodies.
The end of summer and early autumn is a celebration of everything that’s good in the organic garden. It’s harvest time and there’s so much fresh, tasty produce: figs, pawpaws, plums and melons can be picked at their peak when they are incredibly sweet and delicious. Tomato bushes in many areas are still hanging low, laden with heavy trusses of juicy, plump red fruits full of flavour. Culinary ginger that was planted in spring is revealing its swollen roots, ready to be lifted, and giant pumpkins are calling out to be plucked from their vines and stored for winter.
One of the greatest joys of this time is the sheer excess. While you can share your plentiful supply with friends and neighbours, it’s also a great time to preserve the surplus to enjoy year-round. Fruit can be bottled, turned into sauces, jams, relishes and chutneys or dried and stored in containers, along with vegetables that can be pickled or frozen. The possibilities are as abundant as your yield.
And when you preserve your own produce, you know exactly what goes into it. So you can avoid artificial preservatives and nasty allergens. Homemade preserves taste better too, and you can play around with herbs and spices not normally found in store-bought preserves. At the end of the day, preserving your own organic produce saves you money and it’s a great way to live more sustainably.
The best bit is it’s not hard to do. People have been preserving their own food for centuries. Even if you have never done it before, it won’t take much to get started. All you need is some basic home cooking utensils and a few recycled jars. As you progress, you might like to invest in more specialised equipment, like a preserving kit or home drying unit, which will help to broaden your options even more.
Preserving your own freshly picked fruit and veg is incredibly satisfying and fun to do. It’s even better as a joint effort with family and friends. So gather your loved ones, get your kit together, bring in the harvest and let’s get stuck into it!
BOTTLING
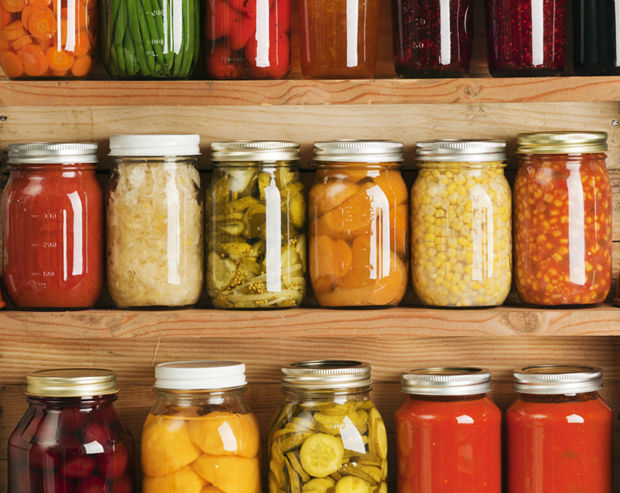
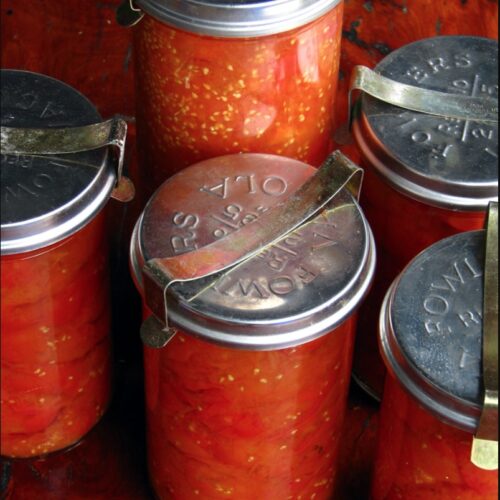
Shelves lined with jars full of rich colourful fruit and veg bring warmth and comfort to the kitchen. Bottled preserves can be made with whole or large fruit pieces in a sugar syrup, citrus juice or water. You can bottle just about any fruit, but berries and stone fruit are the most common.
Choosing jars
Jars come in all shapes and sizes, but large jars with wide necks are best for packing whole and half fruit. Proper preserving jars are preferred because the glass is thicker and the seals are better (and replaceable). You can still bottle successfully in recycled jars that have airtight-coated metal lids, but the fruit won’t keep as long. All jars must be free of cracks and chips, thoroughly cleaned and sterilised.
Sterilising jars
If using recycled jars, remove all labels and wash jars and lids in hot soapy water. Rinse well. Put a wire rack in the bottom of a large saucepan and place jars on top. Cover jars with water and bring to the boil for 10 minutes. Carefully remove jars and drain upside down on a thick tea towel. Place jars on a baking tray right side up and put into a pre-heated oven (110°C) until completely dry (around 15 minutes). Sterilise the lids by dipping them in boiling water and then allow them to dry on a tea towel.
Preparing your harvest
Always use fresh firm fruit that’s free from cracks or damage spots. Remove stems and gently wash in a bowl filled with cold water. Drain in a colander. If slicing fruit, place cut surfaces against the glass, and build up in interlocking layers. The tighter the fruit is packed the less likely it will rise during the heating process.
Add the chosen preserving liquid (sugar syrup, citrus juice or water – depending on the recipe) to cover each layer of fruit as it’s packed. Use a chopstick to prevent air pockets.
Cover the top layer with liquid, allowing 12mm headspace at the top of each bottle, then secure lid.
Bottling methods
Once jars are full of fruit and liquid, they need to be heated to kill any remaining bacteria and create a seal.
Proper timing and heat control are essential to success. If the heat is too high, you will overcook the fruit and it will lose colour. When it’s too low, you may not get a proper seal.
The easiest way to control heat and timing is with a purpose-built bottling kit. Following the manufacturers instructions as these kits provide the best guarantee to efficient and safe preserving. You can still achieve great results with a ‘water bath’, but it requires more attention.
Water bath
Stand full jars on a wire rack in the bottom of a deep saucepan and cover with cold tap water. Place a sugar thermometer (designed to handle high heat) into the pan and over a one-hour period, gradually heat water to 55°C. After that, continue to increase heat slowly over another 30 minutes to 74°C (for berries) or 87.5°C (for larger fruit). Maintaining this temperature, cook for another 10 minutes for berries and 30 minutes for larger fruits. Once done, carefully remove the jars immediately and place on a wooden board to cool.
Check the seals. If they are not firm, store in the fridge and use within a week. Store successful jars in a cool dark place. Most bottled fruit will keep for up to one year.
DRYING
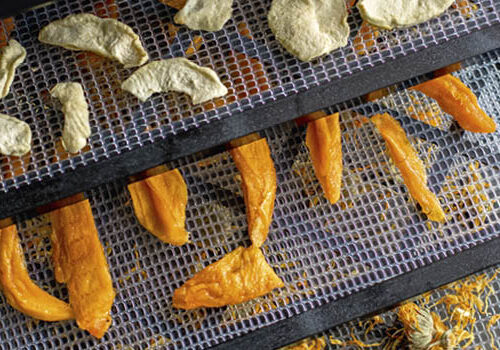
Drying is perhaps the oldest method of preserving fruits and vegetables and not surprisingly it is returning to popularity. After all, it’s easy and cost effective and the drying process creates an intensity of flavour. Purpose-built dehydrators provide a continuous and consistent circulation of warm air, so they give the best results, but you can also use the sun or a conventional oven. For this harvest special with used an Excalibur dehydrator.
Sun drying
Place fruit or vegetables cut-side up onto wooden or non-corrosive racks. Choose racks with tight rungs so the fruit won’t fall through during the drying process. Cover with mosquito netting (or similar fabric) to keep insects off, but don’t allow it to touch fruit. You will need 4-5 days of constant sun with little humidity for successful drying.
Oven drying
Place fruit or vegetables cut-side up onto cake cooling racks set on oven trays. For most fruit and vegetables, set the temperature to 60-70°C. Produce with higher water content (like tomatoes) needs 90-100°C.
Keep the oven door slightly ajar to allow moisture to escape. Rotate the oven trays every two hours or so for even dehydration. The time it takes to dry will be between six and 30 hours, depending on the type and thickness of the fruit or veg.
Tips for success
Most fruits are pealed and cut in half to dry. Thick fruits such as pineapple, pawpaw, pear and apple should be sliced (3mm thick or more) before drying – the thicker the slice, the longer the drying time.
Some fruits can change colour while drying, but this will not affect the flavour. To retain colour, soak fruit in acidic water (juice of half a lemon in a litre of water) before drying.
The fruit is dry when no moisture comes out when cut. Store dried fruit in airtight containers and label well. Keep in a cool place for up to six months or longer in the freezer. If there is any sign of mould on the fruit, discard immediately.
Other preserving methods
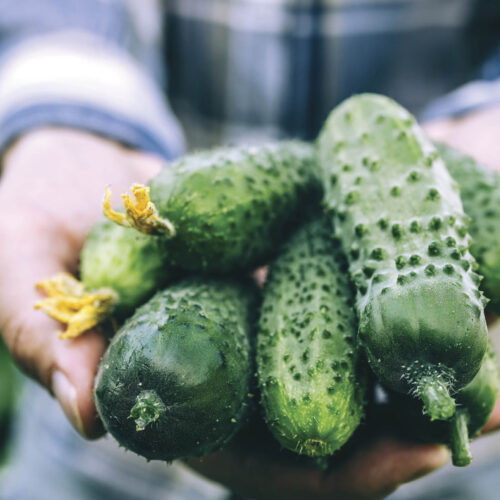
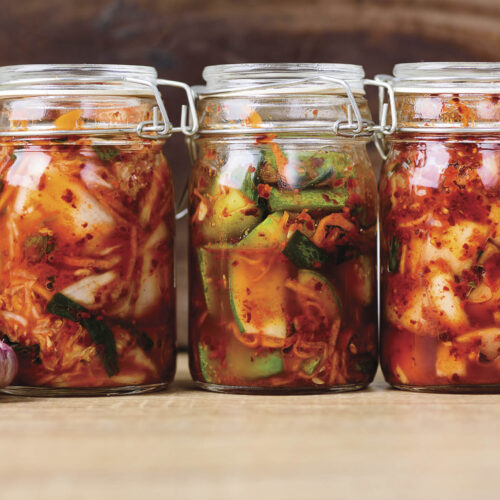
Pickles: There are lots of other ways to preserve your produce. Most involve sugar or vinegar, or both. It’s hard to go past a good pickle. Pickles are made with larger or whole pieces of fruit or vegetables steeped in vinegar and preserved raw. Homemade pickles add colour, crunch and flavour to a dish. Choose almost any fresh raw vegetable to make pickles. Home-grown capsicum, cucumber and eggplants are great choices.
Jams & Jellies: Fruit jams and jellies need pectin. This is the ingredient naturally found in fruits that reacts with the sugar and helps the jam to thicken. Some fruits like citrus and pome fruit are high in pectin while most berries are low. You can use lemon juice to add pectin where needed or you can buy pectin at supermarkets, which guarantees perfectly setting every time.
Relishes & Chutneys: Do I relish or do I chutney? They are both a great ways to preserve your fruit but what is the difference? Chutney originated in India and has a chunky spreadable consistency whereas relishes are hardly cooked, use less sugar (if any) and have a crunchy bite.
Butters & Cordials: There’s also fruit butters and homemade cordials – much better than the sugary, coloured versions on supermarket shelves. If you are really adventurous, you can even think about making your own wine or liquor! The possibilities are endless. For those looking for a little inspiration, there are a number of great books available. Passionate preserver Sally Wise has two books on the topic and the Country Women’s Association’s is also a wealth of knowledge. Even better, why not raid your nanna’s old recipe book!

