Essential guide to seed saving
2024-08-13T13:52:53+10:00
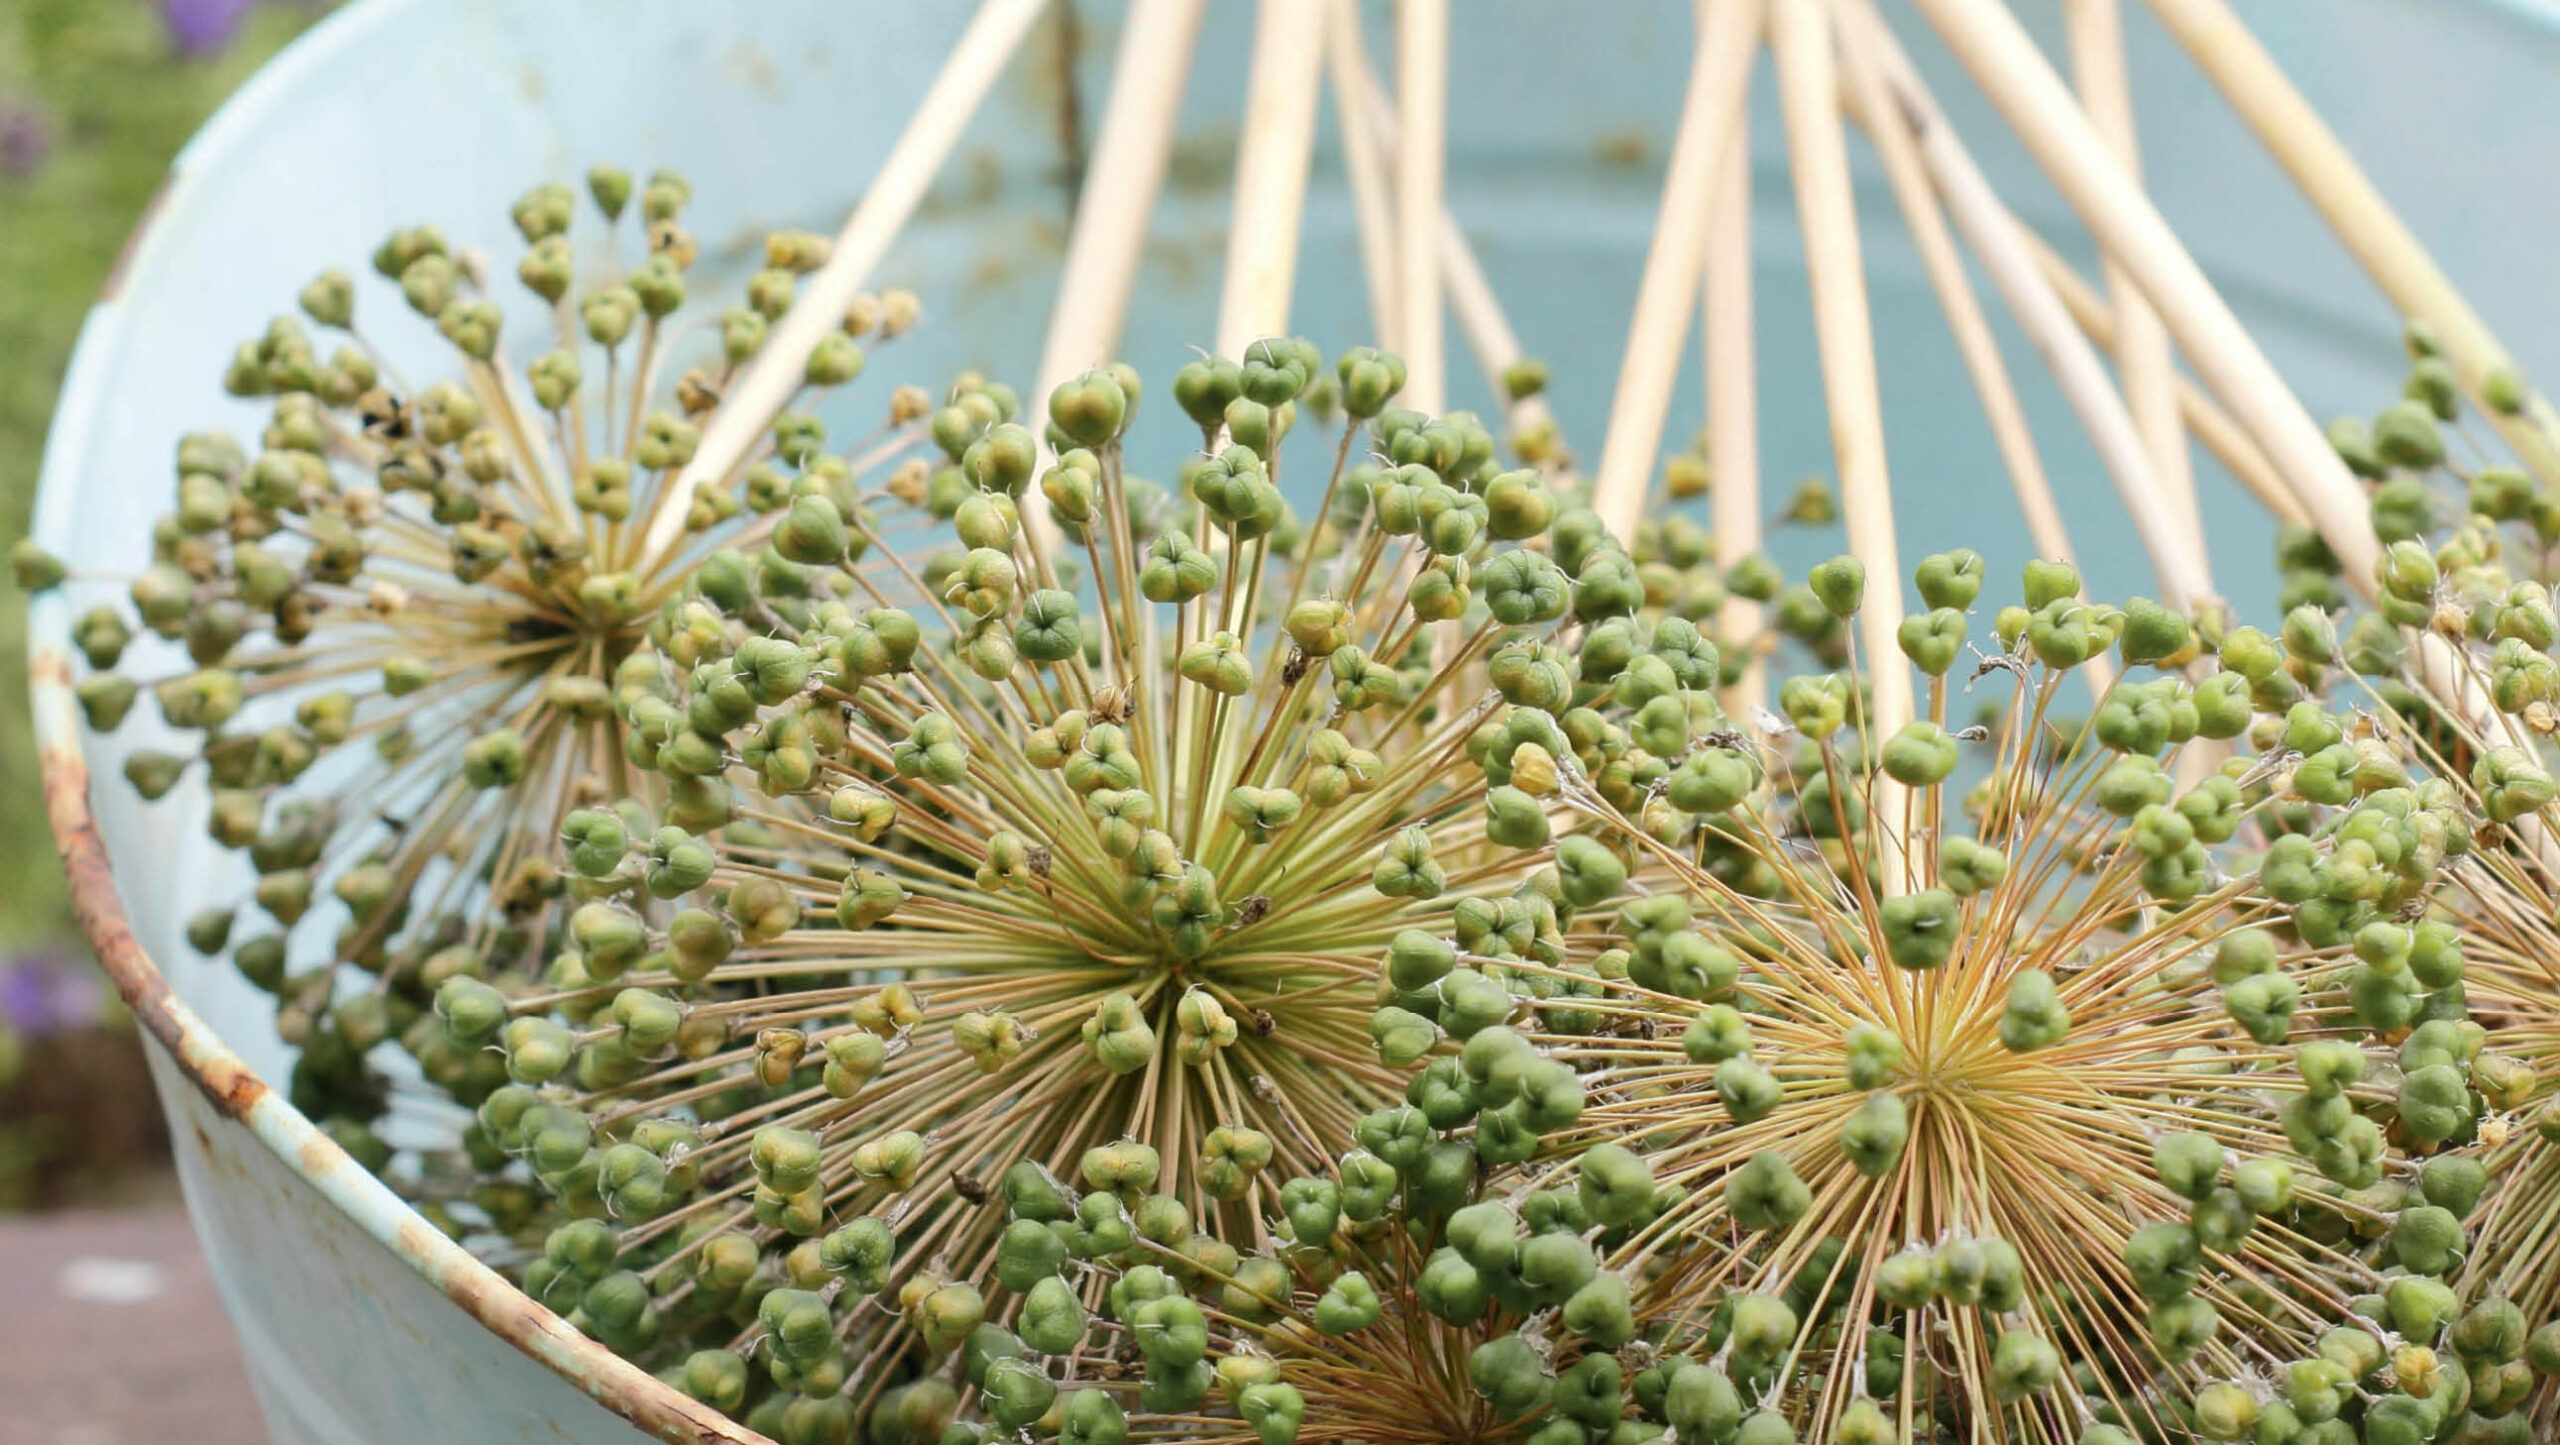
Saving seed from your garden is an important part of organic growing: it saves money, helps reduce food miles and means what you grow is better suited to your microclimate.
For countless generations of farmers, home gardeners and First Nations peoples worldwide, saving their own vegetable and crop seeds to replant was not optional: it meant survival. Vegetables were open pollinated by whatever bees and insects were about, and this, plus deliberate crosses by farmers and gardeners, created numerous heirloom varieties suited to different conditions and tastes not only in Australia, but around the globe.
Although many of us now buy seeds from our local nursery or seed supplier, this is a relatively recent development, and saving seed from your own garden to replant the following year has many wonderful benefits.
Why save seed?
Saving seed is fun, and watching a plant’s entire life cycle makes you a better gardener. When you plant seeds back into your garden, you notice where seedlings thrive, and better understand their cultivation requirements, such as the thyme that germinates only in my drystone walls. And I’m often amazed at how many vegetables prefer sawdust paths over meticulously prepared beds!
Saving seed saves you money, and you’ll also become more sustainable by further reducing the food miles on your dinner table. As well, you’ll be part of a global seed-saving community: when rare varieties grow in many gardens, they are unlikely to be lost.
If you collect seeds from the healthiest, strongest, most productive plants year after year, you select those that do best in your local microclimate – in effect, a breeding program that adapts plants ever more closely to your specific garden conditions.
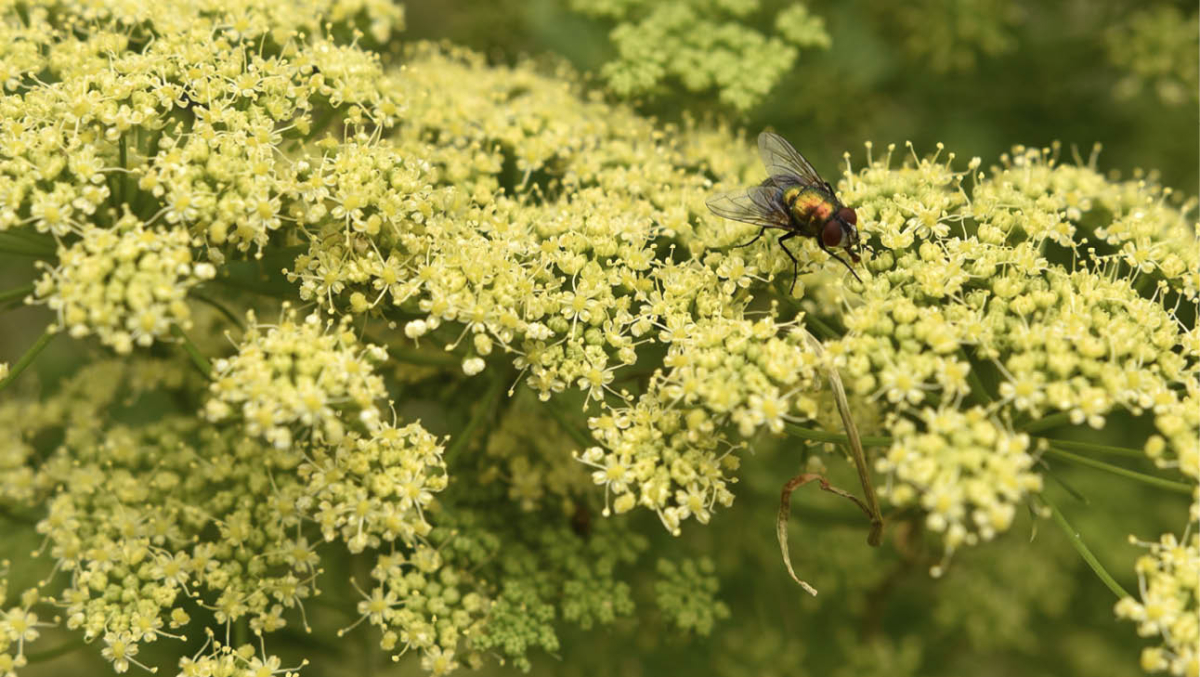
In fact, since beginning to save seeds, I’ve often had more success than with commercial seeds. Once, I was even too successful: thinking to save time, I banged ripe parsnip seed heads against the ground in areas I wanted sown. Unfortunately, they came up in a carpet so thick that I then spent many, many hours thinning them out! The seeds in those heads equalled dozens of commercial seed packets, and it was super fresh, with high germination rates. I still sow vegetables that way, but much more carefully!
Finally, some unusual varieties, such as glossy angelica, grow only from fresh seed, rarely available commercially, so collecting your own ensures you keep them.
Pollination, hybrids and heirlooms
Many vegetables and most fruit trees are pollinated by insects, notably bees, but others, such as corn and avocadoes, are wind-pollinated. Species pollinated by wind must be planted close together, or in a block. Other vegetables such as tomatoes, lettuce, and silverbeet are also self-fertile (self-pollinating), so they don’t need pollen from another flower or plant to fruit or set seed.
Heirlooms are open-pollinated and reliably stable, with offspring indistinguishable from parents. This means you can collect your own and plant seeds that will grow true to the parent plant. These seeds belong to everyone. However, some cultivars in your garden may hybridise naturally. Certain vegetables are more prone to this – self-fertile tomatoes generally breed true, but squashes are more likely to cross. This can be beneficial, resulting in interesting flower colours, or pumpkins with unusual shapes.
To minimise natural hybridisation, plant just one variety of the vegetable, or make sure they flower at different times, and/or use insect exclusion net or bags over the buds you wish to collect from. When flowers open, pollinate using a little paintbrush to transfer pollen, and re-bag. Collect seed when fruit ripens.
How to save seed
Letting flowers and vegetables seed means leaving them in the ground past their ‘prime’, but it’s simply another satisfying harvest. Yes, beds look somewhat messy during seasonal changeovers, but it’s natural in a healthy garden.
You need fewer plants than you think for seed: an individual plant usually produces dozens, if not thousands, of seeds.
When improving soil for subsequent crops in your garden, work around the plant(s) left behind for seed, or start crops in pots, transplanting after removing seed plants.
It’s essential to save seed from your best plants. For all leafy and root vegetables, choose the last plant to go to seed, otherwise you’ll be selecting for plants that bolt (set seed early in the season).
When selecting root vegetables, scrape away a little soil to ensure your selection is not only slow to bolt but also has thick roots. Conversely, the best seed for fruiting vegetables comes from the fruit of those that fruit early.
Choose disease-free plants, or at least the healthiest ones. However, tomatoes and capsicums must be disease-free, because viruses can be carried in seeds.
When to collect
Annual plants will set seed at the end of the season before the plant dies. Perennial plants, which grow for more than one year, generally flower and set seed every year. However, biennial plants will grow for one year and then flower, set seed and die in the second year, so will need to stay in the ground longer if you want to collect seed. In tropical and sub-tropical regions, biennials will often grow as annuals.
Seed is often ripe just before pods or capsules are completely dry, or fruits are fully ripe. You may need to net or bag fruit or seed heads against pests during ripening.
How to collect
Cut entire seed heads and invert over a tub or newspaper in a dry place, or in a paper bag. Shake seeds off immediately, or let them fall later if not yet dry. Sieve larger seed to remove debris, or winnow smaller seed: place in a shallow, curved bowl, and blow across the surface. Shake the bowl several times, continuing to blow until only seeds are left in the bottom.
From fruit, scoop out or extract seeds, and dry thoroughly on clean paper towel. Remove beans and peas from dry pods.
Store in small, clean, sealed glass jars in a dry, cool, dark place – a bedroom cupboard is fine, or the refrigerator. Avoid sheds with fluctuating temperatures. Some seeds remain viable for lengthy periods, but others, such as carrots, are best sown within the year.
To kill insect pests, add a little diatomaceous earth to the jar and shake to coat seeds. If you have a vacuum sealer, this not only kills insects, but also extends seed viability.
For example: pumpkins
For pumpkin seed true to type, ensure 400m from any other varieties in your neighbourhood. Pick pumpkin and allow it to ripen further for a couple of weeks. Scoop seeds out. Rinse with cold water in a colander. Rub off any fleshy bits holding on to seed as this could cause mould later. Remove any damaged or split seeds. Spread onto baking paper on a tray, making sure seeds aren’t touching. Place in a protected, cool area awary from vermin, for 2-3 weeks, turning seed occasionally. Store in a labelled envelope or jar. Dried seeds can be added to salads. Leonie Shanahan
More information
- The Seed Savers Handbook, Seed Savers Network, 2010
- Growing Australian Native Plants from Seed, Murray Ralph, Bushland Horticulture
- The Seed Garden, Lee Buttala and Shanyn Siegel, Seed Savers Exchange
- Visit: seedsavers.net
Subscribe to OG and get more details on seed saving: we look at the process of seed saving plants in each issue, focusing on a particular veg or fruit each time. Just click on the cover below to find out how to get the magazine delivered to your door!

