Success with seedlings
2023-10-25T02:06:12+11:00
If you think raising your own vegies from seed is too hard, or you’ve tried it with limited success, don’t give up! Phil Dudman is here to offer some help.
Raising your own seedlings is a great skill to have as an organic gardener. Let’s be certain, there’s nothing wrong with buying seedlings, but starting vegies from seed adds another layer of satisfaction when growing food. You save a lot of money, too, and gain access to a much wider range of vegetable varieties.
There are a few things that can go wrong when sowing seed, and I think I have experienced every one of them! If you’ve had some failures in the past and feel a little hesitant, hang in there. I’m going share what I’ve learned and give you some pointers for seed-sowing success.
In-ground or container?
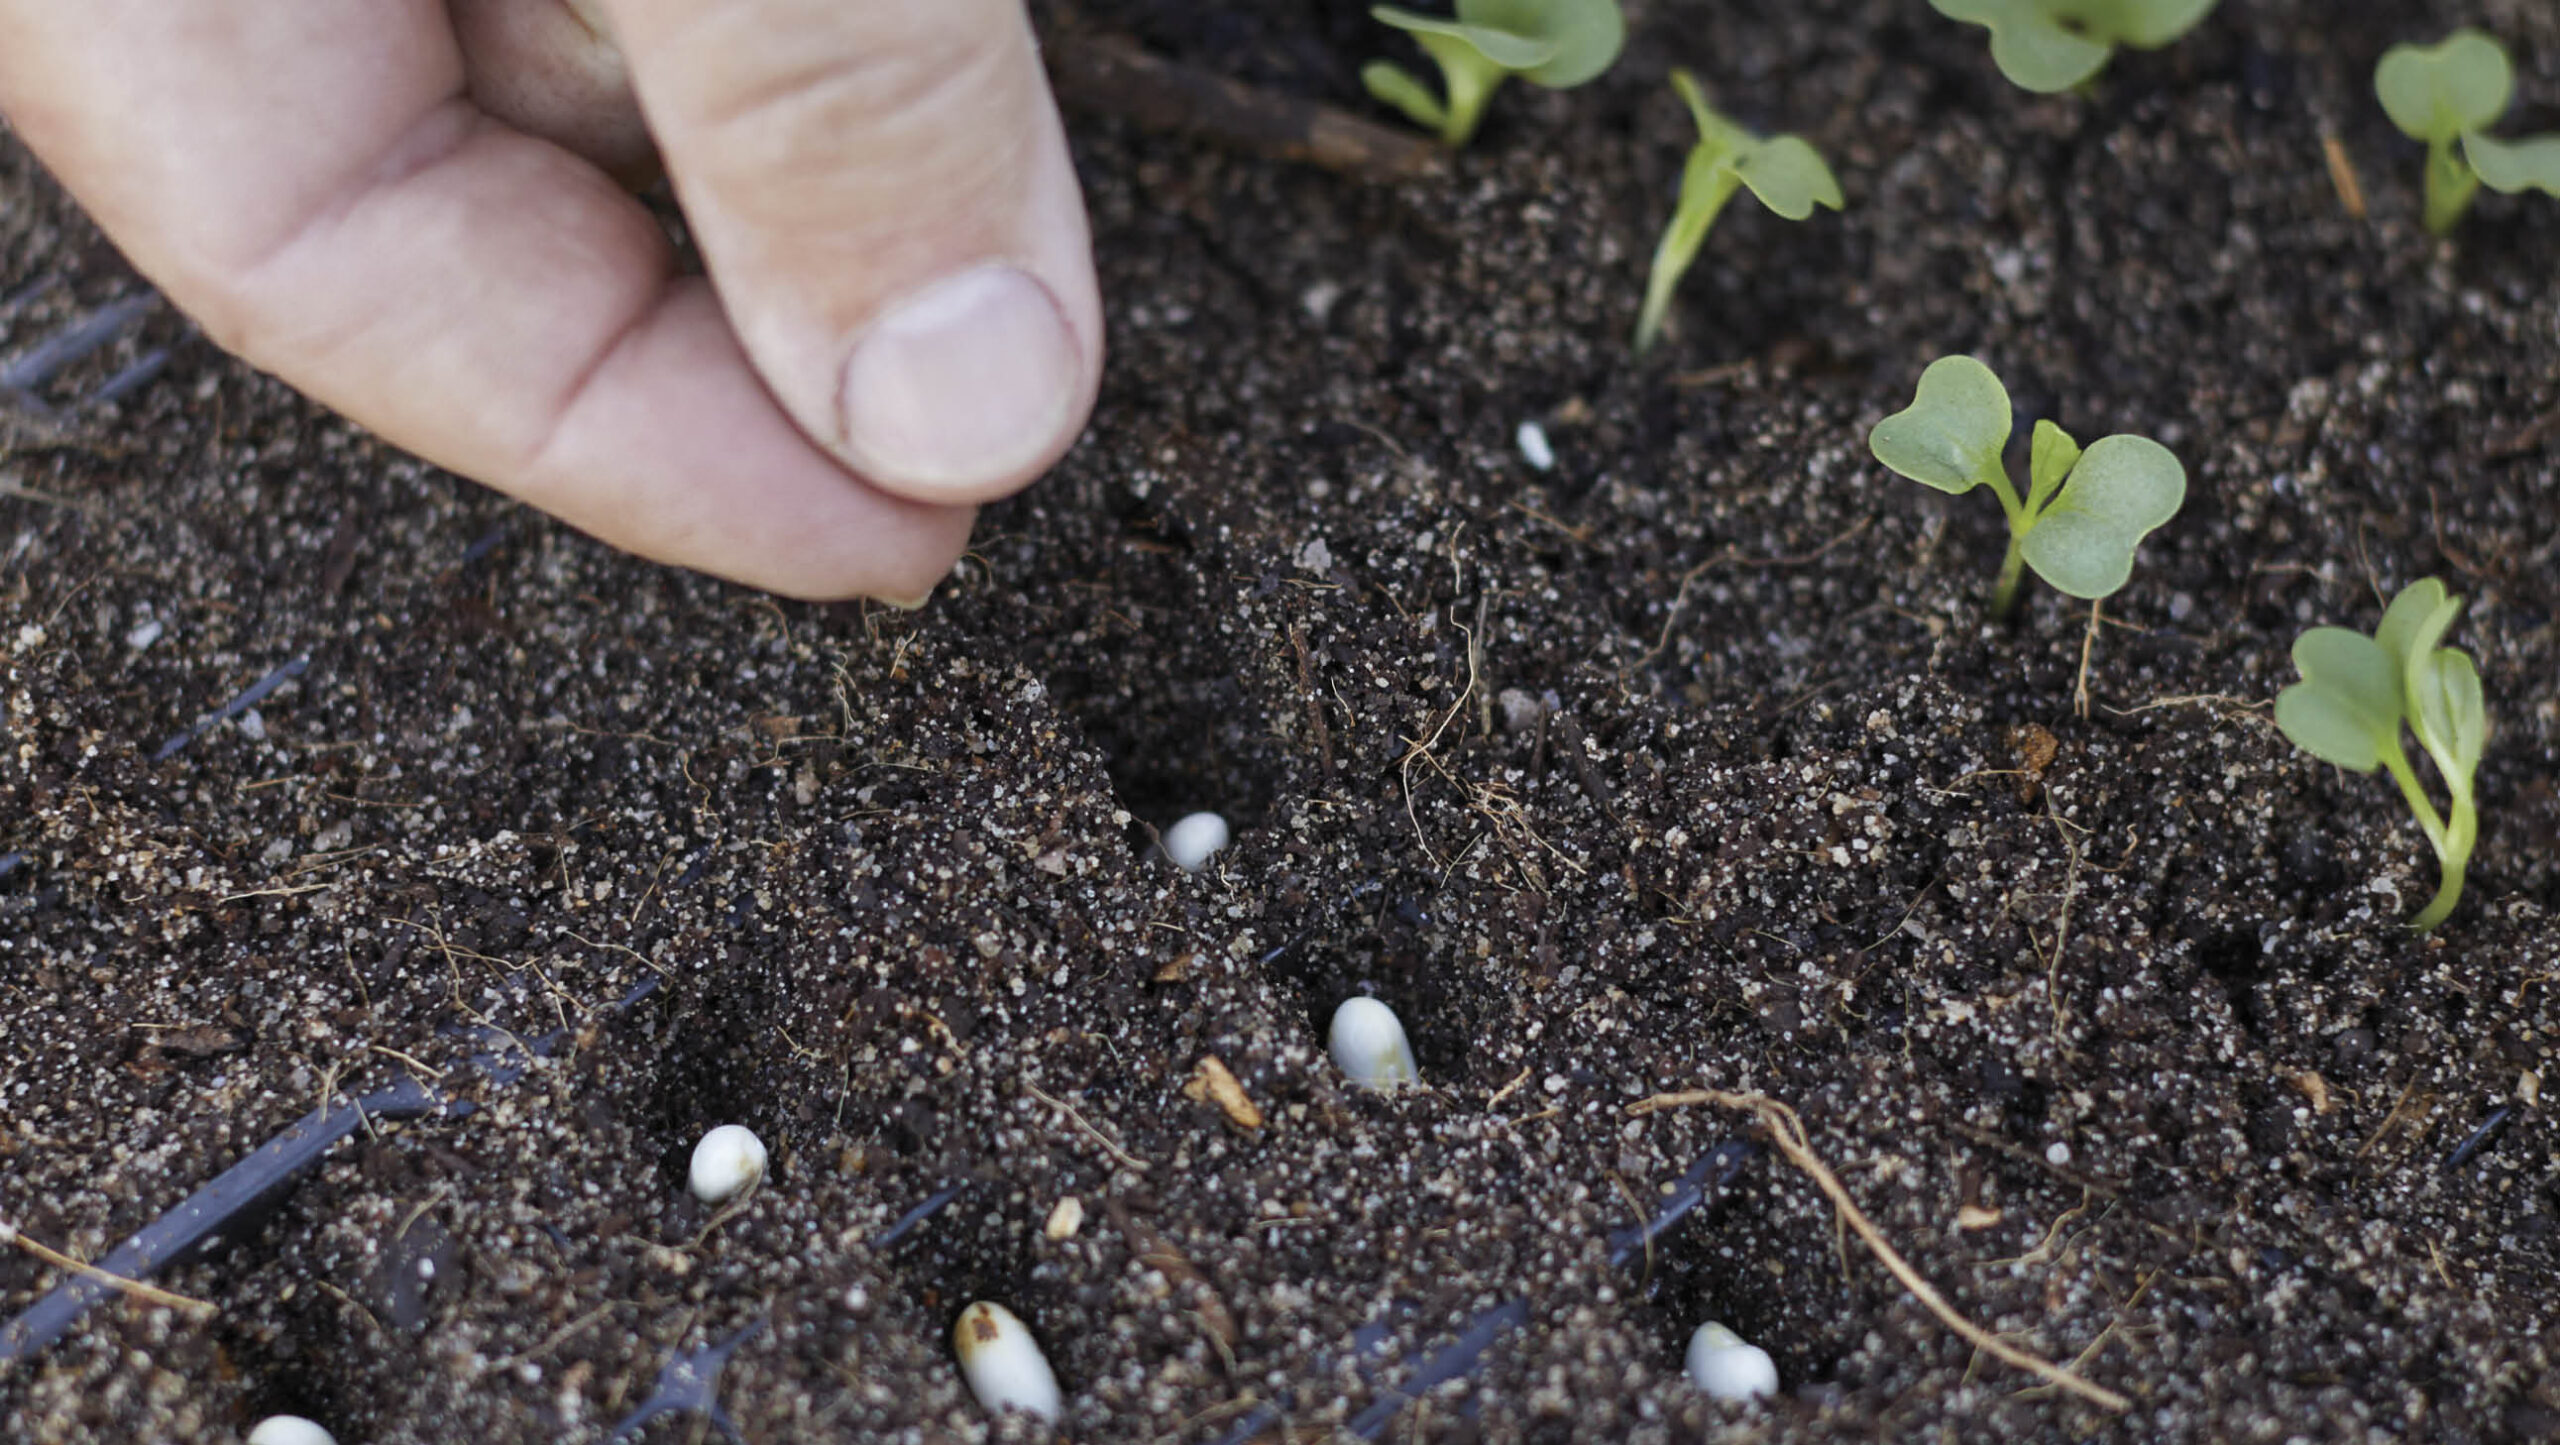
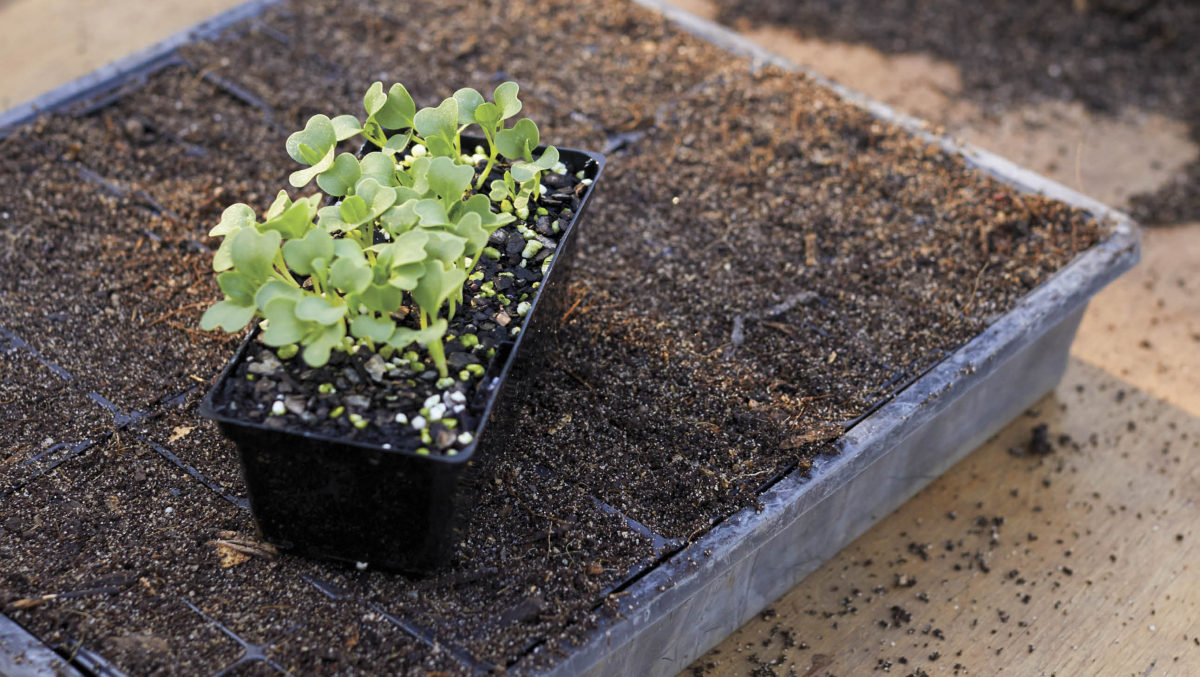
I’m a big fan of raising seed in containers, such as punnets and small pots. I start all my vegetable seeds this way (except for carrots and parsnips, which must be sown directly in the soil if you want them to grow straight). Container sowing leads to higher germination rates, greater production efficiency, and more bountiful harvests.
One major benefit is the control you have over conditions. No matter what the day throws at you – if it’s hot, cold, wet, dry, windy – you can quickly and easily move your containers to where they’ll be protected. This can make the difference between success and failure.
Even the routine task of watering is quicker, easier, and more reliable. When your seed are in containers, together, where you can see them, you’re less likely to forget to water them and you can service them quickly in one go. This ensures a much higher rate of germination.
When you get into the swing of sowing seed in containers, you start to unlock the potential of your backyard food production. With regular sowing, you always have seedlings on hand, ready to fill gaps in your beds. Even when there are no spots available, seedlings can be grown on in pots until such time there is. When the plants finally hit the patch, they could be 6 weeks old and semi-advanced. That’s a much more efficient use of space and time than waiting for a spot to sow seed directly in the soil.
It’s also a good idea to do some planning. Look at planting guides for your climate and see what goes in when and make a mini plan for the season – even the year.
Getting started
A good-quality seed-raising mix is vital. It should hold moisture, drain well, and offer a little bit of nutrients to help kick your seedlings along.
The quality of mixes on the market can vary so try a few to compare and find the one that gives you the best results. With a few common ingredients, you can make your own and save a little money – just follow the instructions below.
You will need:
1 Compost Homemade compost is the backbone of the blend. Give it a light sieve to remove large, chunky material. Retain the smaller chunks. They will help with the drainage.
2 Coarse sand The angular shape of the sand particles ensures good drainage. Sand also provides some firmness in the mix.
3 Coir peat A waste product of coconut production, this stuff has super moisture-holding powers. It’s available in compressed blocks and needs to be hydrated before using.
4 Worm castings (or more compost) Fresh from your worm farm, castings are rich in minerals and microbes. If you don’t have worm castings, add another part compost plus a sprinkle of blood and bone.
Combine:
2 parts sieved compost
1 part coarse sand
2 parts hydrated coir fibre
1 part worm castings (or extra compost with blood and bone)
Mix well.
You’ll find more tips from Phil about growing vegies from seedlings in our Early Summer 2023 issue (OG 145) available here.

