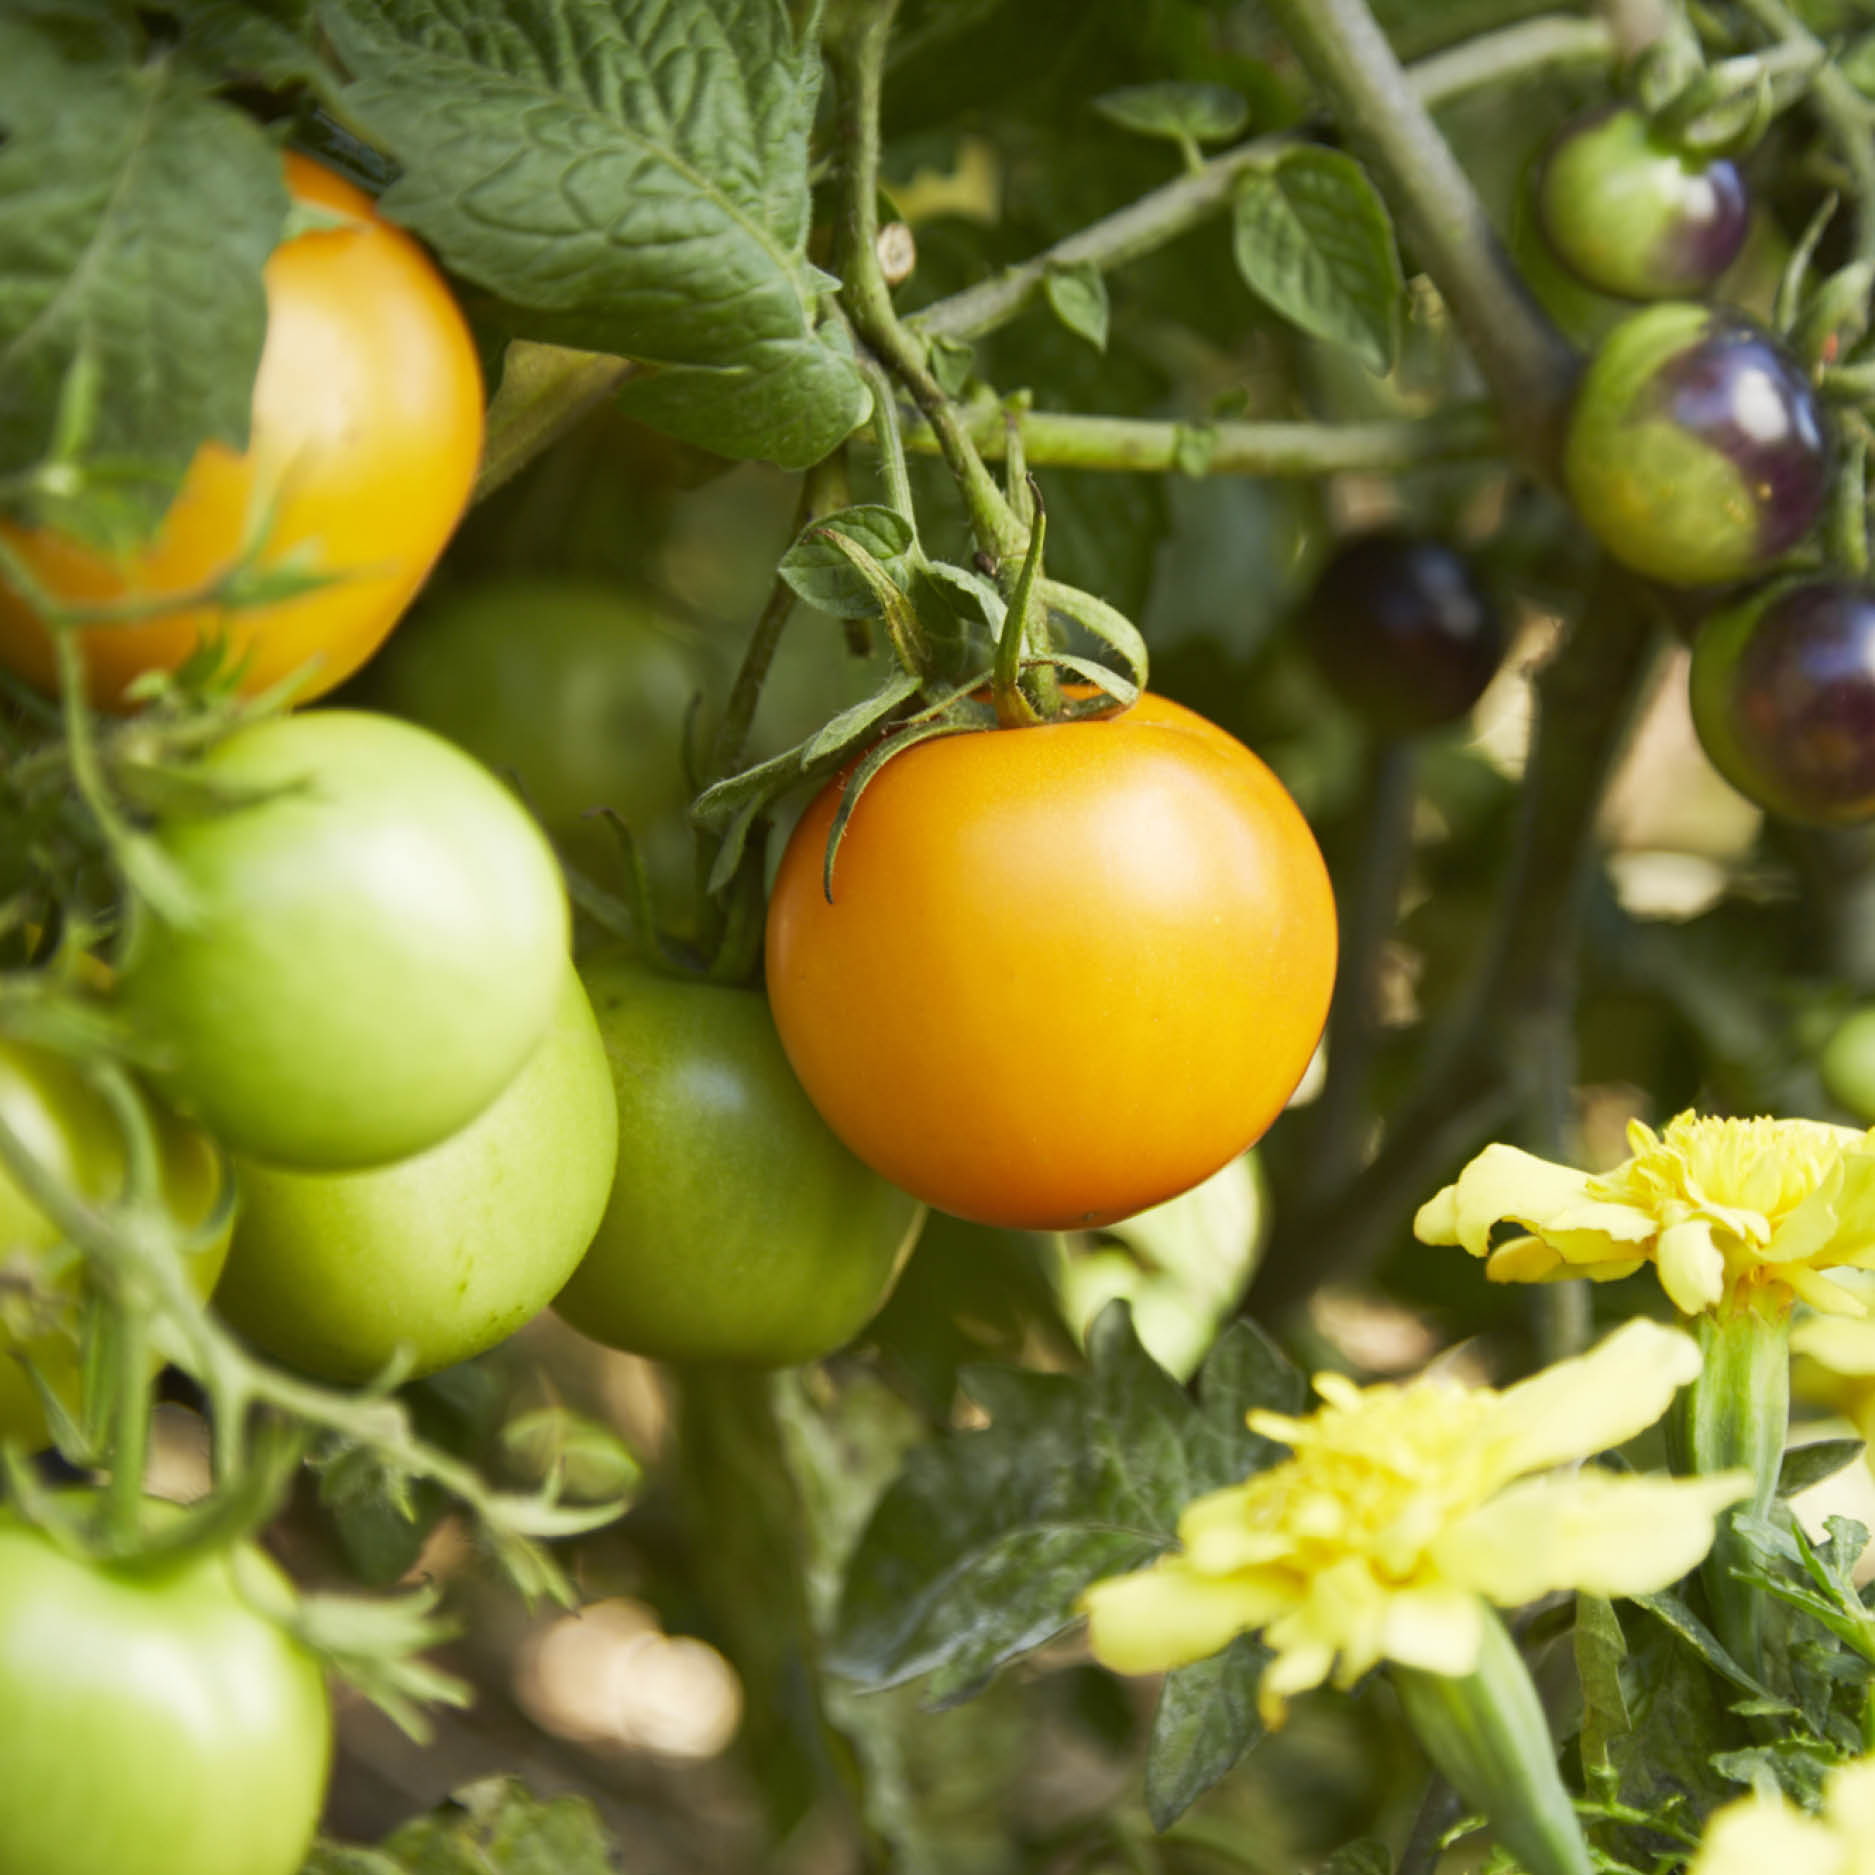
Growing heirloom tomatoes
2021-03-11T03:49:14+11:00
Tomatoes are a favourite in the kitchen and a must-have to grow in a backyard patch, here you can learn how to plant them from seed.
There are many ways of growing tomatoes from seed, but here is one of the simplest and most common using punnets or seedling trays. Other options include peat plugs and tubes. For temperate climates, you need to pot up seedlings and wait for frost to pass. If you wait until the weather is warm enough to plant out before you start your seeds, you will have less time for them to mature and fruit, before cold weather arrives again.
Getting seed
Either save your own seed or source it from reliable suppliers. There are nearly 500 heirloom tomato cultivars available from about 25 mail order seed sellers in Australia. You are much better buying from seed companies, than from sellers on eBay, gumtree or similar.
Also, it’s illegal to bring tomato seeds in from overseas, so don’t be tempted to buy from an overseas company, or ask a relative to send you seeds of their favourite tomato. At best you’ll lose the seeds, at worst you might be prosecuted.
Warmth
When planting in August and September in warmer regions, just place your planted seed trays in a sheltered, warm position outside. In temperate regions, seeds and seedlings need to be kept warm if they are going grow and thrive.
You can do lots of things to keep your tomatoes warm, such as:
• create a mini greenhouse using a polystyrene box and a small glass window or plastic over the top. Alternatively, buy a mini greenhouse;
• find a sunny window sill;
• put your punnets on top of the water heater or buy a seed-raising heat mat.
How to do it
You will need:
- Tomato seed
- Tweezers
- Seed-raising mix
- Punnets or tray
- Labels and marker pen
- Heat pad or mini/large greenhouse
- Water can or fine mister
1. Fill punnets or seed tray with seed-raising mix to 10mm from the top. For trays you might want to use less expensive potting mix for the bottom half.
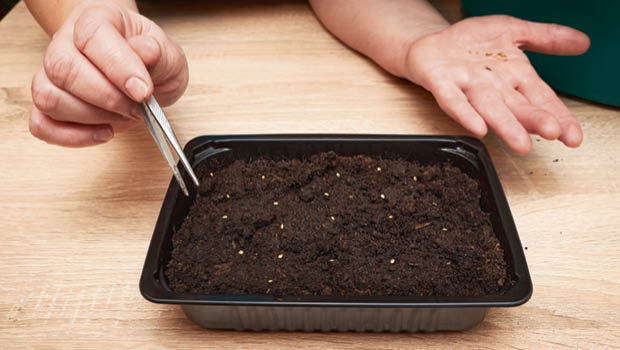
2.Press down gently on the mix to make sure it’s settled. Water with a fine soft spray, or gently with a water can.
3. Use tweezers (rather than fingers) to pick up and place your seeds – one or two in each cell or 10mm apart in the tray. The tweezers help you lessen the risk of disease being spread to the seed from fingers, especially if you are a smoker. Fingers will suffice if no tweezers at hand.
4. Cover seeds with 5mm of mix and gently firm. Water again gently.
5. Seeds germinate most quickly (about a week) if they have bottom or ambient heat of just over 20ºC, with lower heat they’ll still germinate but will take longer. So place on heat mat or in a warm spot.
6. Keep your seeds moist, but not too wet. If you let them dry out for even a few hours, sprouted seeds will die. If they stay too wet, then seeds and seedlings will rot. In a mini-greenhouse you may only have to water once or twice before they sprout, in a less sheltered position or hotter weather, it could be as often as twice a day.
7.Once the seed germinates and you have 2-4 leaves, take punnets off bottom heat, and/or open up the mini-greenhouse during the day.
8. When seedlings are big enough (from 3-10cm) they can be transplanted into pots to be grown on and await the right outdoor conditions. Water with a dilute organic liquid fertiliser every couple of weeks.
9. Once the weather is warm enough outdoors, plant into the garden and keep watered.
10. Have some frost protection, such as frost nets if a late frost is forecast.
• Depending on variety, you should have tomatoes from seed in eight to 12 weeks.
For more organic growing ideas and practical solutions subscribe to the magazine here.