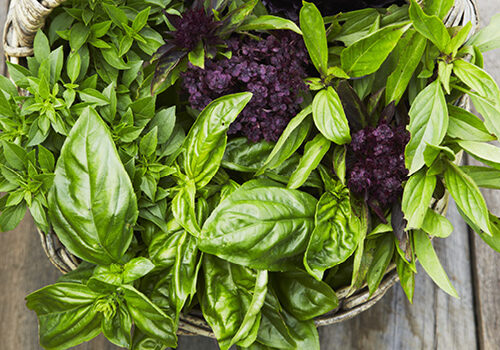
It’s easy to grow sprouts and microgreens
2019-12-03T03:17:53+11:00
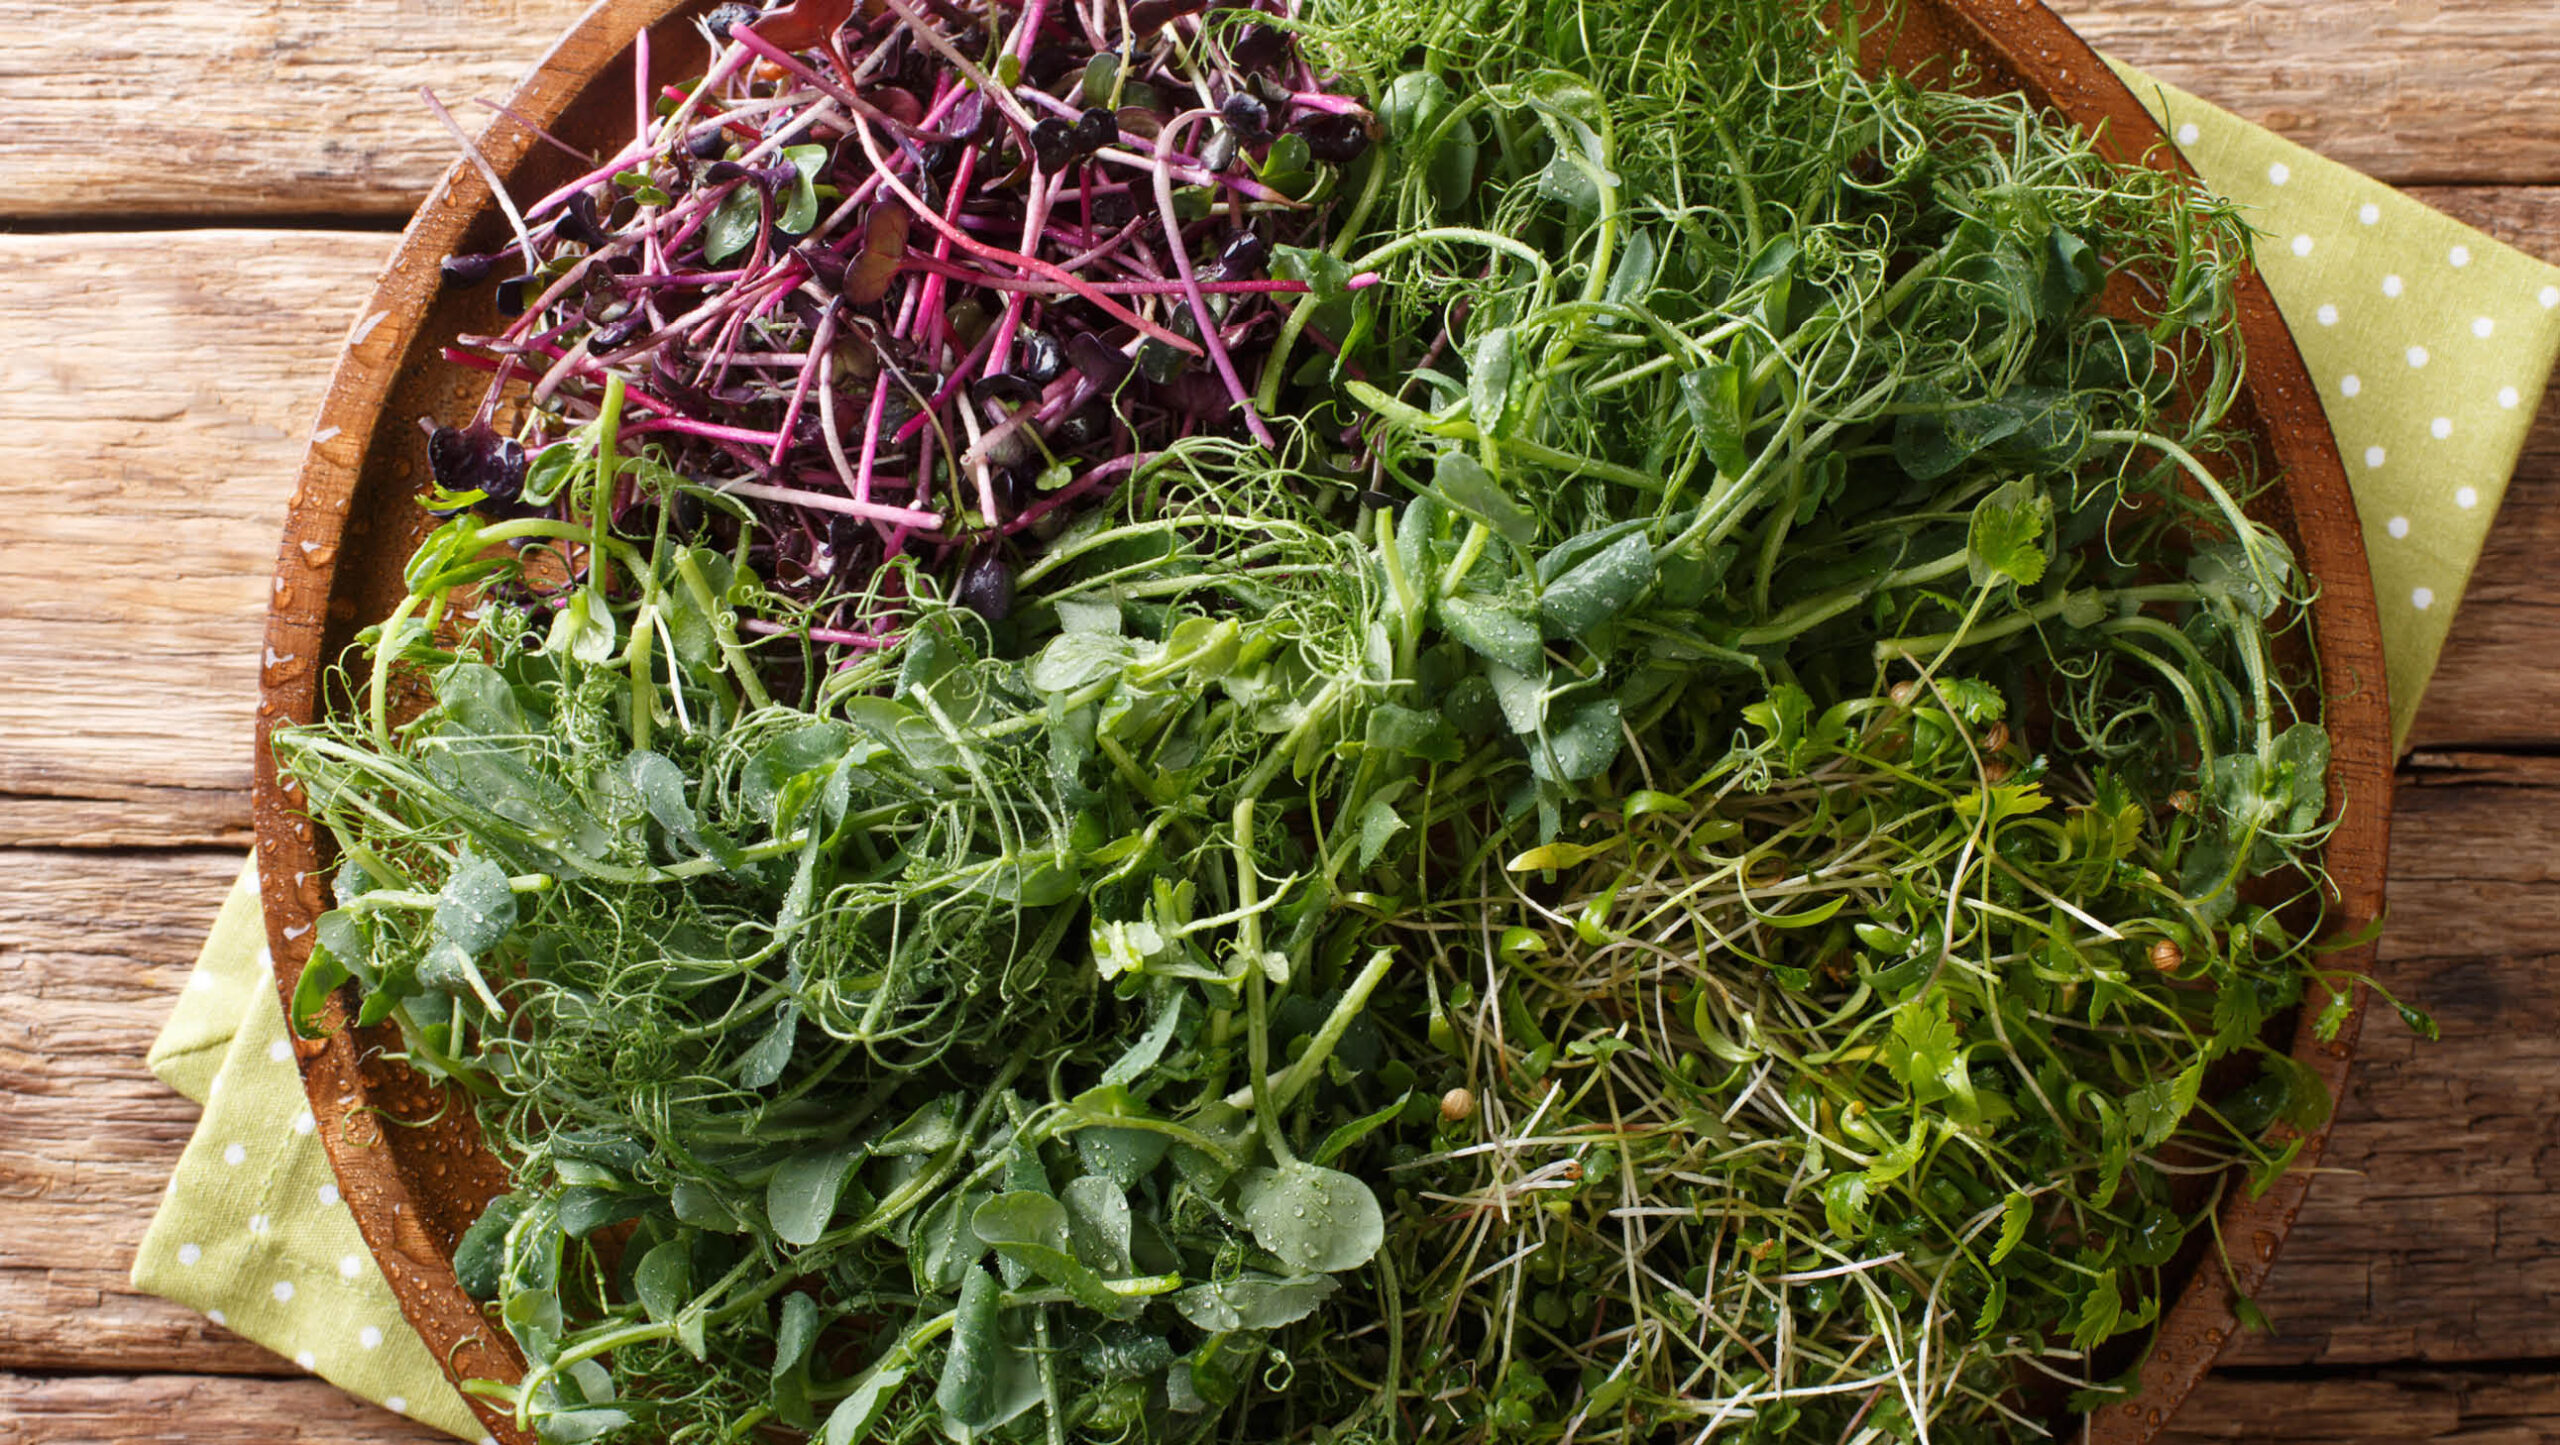
It's very easy, and rewarding, to grow your own nutrient-rich microgreens and sprouts, and it won't take much time until you see the results.
Although they won’t feed the family, sprouts and microgreens are surprisingly productive and will add fantastic nutrition to the diet. Not only that, food can be harvested in as little as three to five days so you can have a constant supply if managed well. The bonus is that sprouted seed and microgreens have higher concentrations of nutrients than the fully grown plant.
All you need is a bench or windowsill and some easy-to-find equipment.
A good starting point
How do sprouts and microgreens differ? Sprouts are grown in water and you eat the tiny roots, seed, stem and barely developed leaves. Microgreens are grown in soil and you cut the stem and well-developed leaves just above the soil, leaving the roots behind.
Microgreens are higher in phytochemicals, vitamins and minerals than sprouts, because they have leaves that have started to photosynthesise. Red-leafed microgreens are higher in anthocyanins. Always use untreated seeds for sprouts and microgreens, preferably from an organic source.
Sprouts
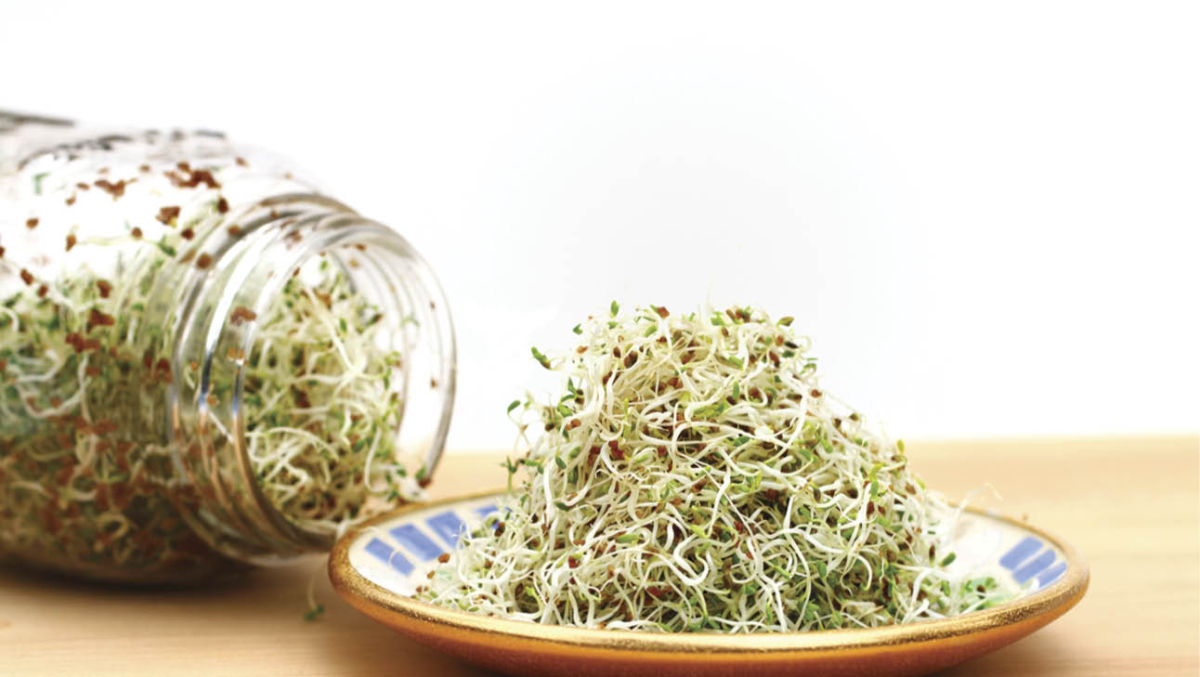
Sprouts can be grown at any time, they are not seasonal, they do not need soil. Really any plant with edible seeds and leaves can be grown as sprouts, but some are easier to grow, more nutritious and delicious than others.
All you need are the seeds, a jar, a porous cover (muslin material, absorbent kitchen cloth or similar) for the jar, a rubber band to hold it in place, and water. If you want to go more high tech, you can buy sprouting kits with perforated lids, or even domed multilevel sprouters.
Use only one type of seed per jar, as all seeds take slightly different times to sprout, but you can have several different jars going at once.
Traditionally, sprouts are added to salads, sandwiches, blended with vegies, scattered over an omelette, stirred into stir-frys, and used to garnish soups or stews.
How to grow sprouts
1. Wash the seed first by placing in a sieve and rinsing under running water.
2. Place selected seed into a clean wide-mouthed jar to no more than one quarter of its depth (the seeds swell as they absorb water and start to grow).
3. Pour in clean, cold (preferably filtered) water to just submerge seeds, put cover in place and leave to stand for two or more hours (see table). The simplest way to do this is to just stand on a bench in a light, but out of direct sunlight position. Sprouting kits use frames that tilt the jar, but this isn’t necessary.
4. The next morning, after soaking for the right amount of time, drain water leaving the seeds moist but not wet.
5. That night, rinse the seeds in fresh water again by running water into the jar to just cover the seeds, slosh around a bit to make sure all the seeds are rewetted, and then drain through the porous cover. Again leaving the seeds moist but not wet. Do this twice a day, or three times if the weather is really hot.
6. Sprouts are ready to eat once shoots are well formed and, in some cases, have small green leaves. Store in a sealed container in the fridge and use within a few days.
Microgreens
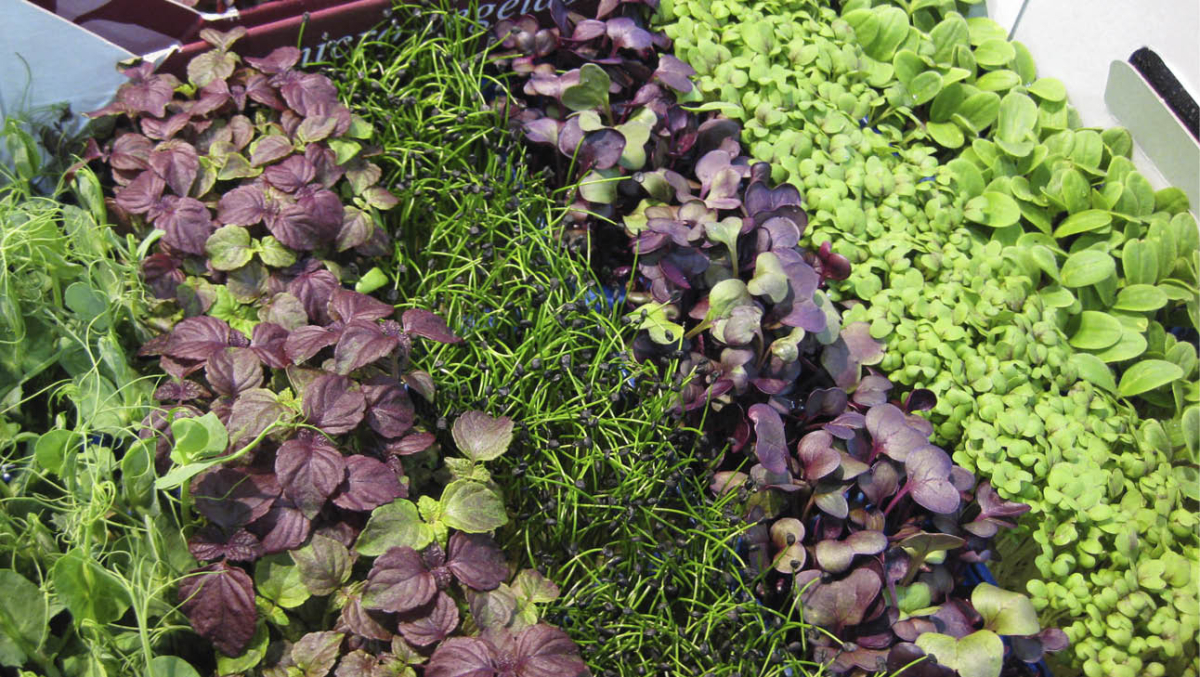
Microgreens can be grown at most times of the year, but some warmer climate seeds such as basil, only do well if the soil temperature is over 20ºC, so plant these in late spring summer and autumn. You can sow single seed types into different containers, or mix up compatible seed into one bigger container.
Some seed sellers offer microgreens in mixed packets suitable to the seasons (for example, winter microgreens), as well as selling packets of individual seed. Be prepared to experiment and see what suits you, and which microgreens you like and use the most.
Microgreens are harvested later and bigger than sprouts, when the leaves are well developed, but earlier than the small leafy greens you see in supermarket salad mixes.
How to grow microgreens
All you need are seeds, small and/or shallow pots or trays, really good potting mix, small amounts of seed raising mix, and water.
1. Fill containers with the potting mix and water well.
2. Sow seed following the instructions on the packet, but usually much more thickly than you would for seedlings.
3. After sowing, cover seed with a thin layer of seed raising mix. Water again, gently to avoid washing all the seed to one corner.
4. Place in a light-filled position, inside on a windowsill or sunny kitchen bench, or outside. They don’t need direct sunlight.
5. Water regularly but don’t keep too wet.
6. Most plants grow by first producing two seed leaves, which are known as cotyledons. Once the cotyledons appear, the greens will need to be fed. Water once with a dilute organic complete liquid fertiliser, such as fish emulsion.
7. Start harvesting when you have the first or second true leaves. Plants that produce two seed leaves are known as dicotyledons, those that produce only one (for example, onions and garlic chives) are monocotyledons. All leaves that grow after the cotyledons are know as true leaves.
8. Harvest by cutting what you need with scissors, just above the soil. Leave the rest to continue growing. Microgreens generally take between 10 and 25 days before you can begin to harvest.
Penny Woodward’s feature about these windowsill wonders, which are easy to grow in small spaces, first appeared in our Summer 2020 issue (OG 114). You will find plenty more tips for growing a healthy harvest in our latest issues, available here.


