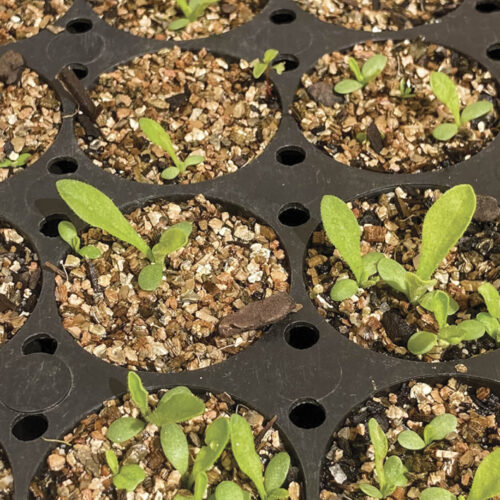
Seed sowing basics
2022-03-22T00:52:43+11:00
Growing your own seedlings gives you greater diversity in your garden, as well as contributing to the heirloom seed saving community, writes Helen McKerral.
Anyone growing vegetables in the last few years knows the challenges: seedlings flying off nursery shelves as quickly as toilet rolls out of supermarkets. However, for centuries, people haven’t needed supermarkets or nurseries. Instead, they harvested not only fruit and vegetables from their own gardens, but also the seed that produced them… and all were free!
These days, though, nurseries are limited in how many seedlings and varieties they stock. Another option, mail order seed companies, sell a huge range of marvellous old varieties developed over decades, with the most prolific, tastiest, toughest and longest-storing preserved for future generations.
Heirloom varieties survive because they are special. Often, they have been bred by home gardeners around the world (and Australia) for specific challenges such as frost, drought, heat or disease. There’s almost certainly an heirloom perfect for the exact conditions in your garden. And when you grow heirlooms, you buy seed just once. After that, you simply collect it from your best plants and over time they will adapt to your climate and soil meaning they will grow better, too!
Even better, when you begin planting your own seeds, you become part of a worldwide community conserving old open-pollinated varieties – the more seed savers we have, the more heirlooms will survive.
Getting started
Buying seed
Buying seed is the first step to raising your own seedlings (see suppliers below). Heirloom seeds are too niche for most large commercial seed suppliers, but perfect for smaller producers; Australian boutique mail order suppliers sell numerous wonderful cultivars. Collecting and raising your own seed isn’t rocket science; it’s the cheapest form of propagation possible, the ultimate in self-sufficiency and sustainability… and it’s fun!
Here, the focus is on raising seedlings, but for details of seed saving, see our ‘Essential Guide to Seed Saving’ in Issue 123 (available at mymagazines.com.au).
Germination workspace
It is good to have a designated germination area and table. A wire mesh table is ideal but adapt with the resources at hand. Set up in a well-ventilated but not windy spot – this minimises fungal disease and helps thwart pests. Windy spots dry out seed-raising and potting mixes and seedlings too quickly. Full sun is also too hot for container seedlings in summer – dappled shade or filtered light is ideal. In southern Australia, full-sun is fine in winter.
Balconies may be suitable, too. Easterly aspects suit warm weather, northerly or westerly ones colder conditions. Southerly aspects are okay for germinating seeds but, once seedlings emerge, move into more light.
You can also start seed indoors but, as in southerly aspects, seedlings languish unless your house is exceptionally bright. Seedlings succumb to fungal disease more easily, too.
Growing media
If you’re new to raising seed, consider buying seed-raising mix instead of making your own, at least initially. Seed-raising mix needs to be moist but well aerated and free draining, and homemade mixes may contain pathogens if not properly prepared.
Many people sieve ordinary potting mix to propagate seed. As long as it’s moist but free draining – water should soak away immediately – and without coarse chunks, it should be suitable.
Containers
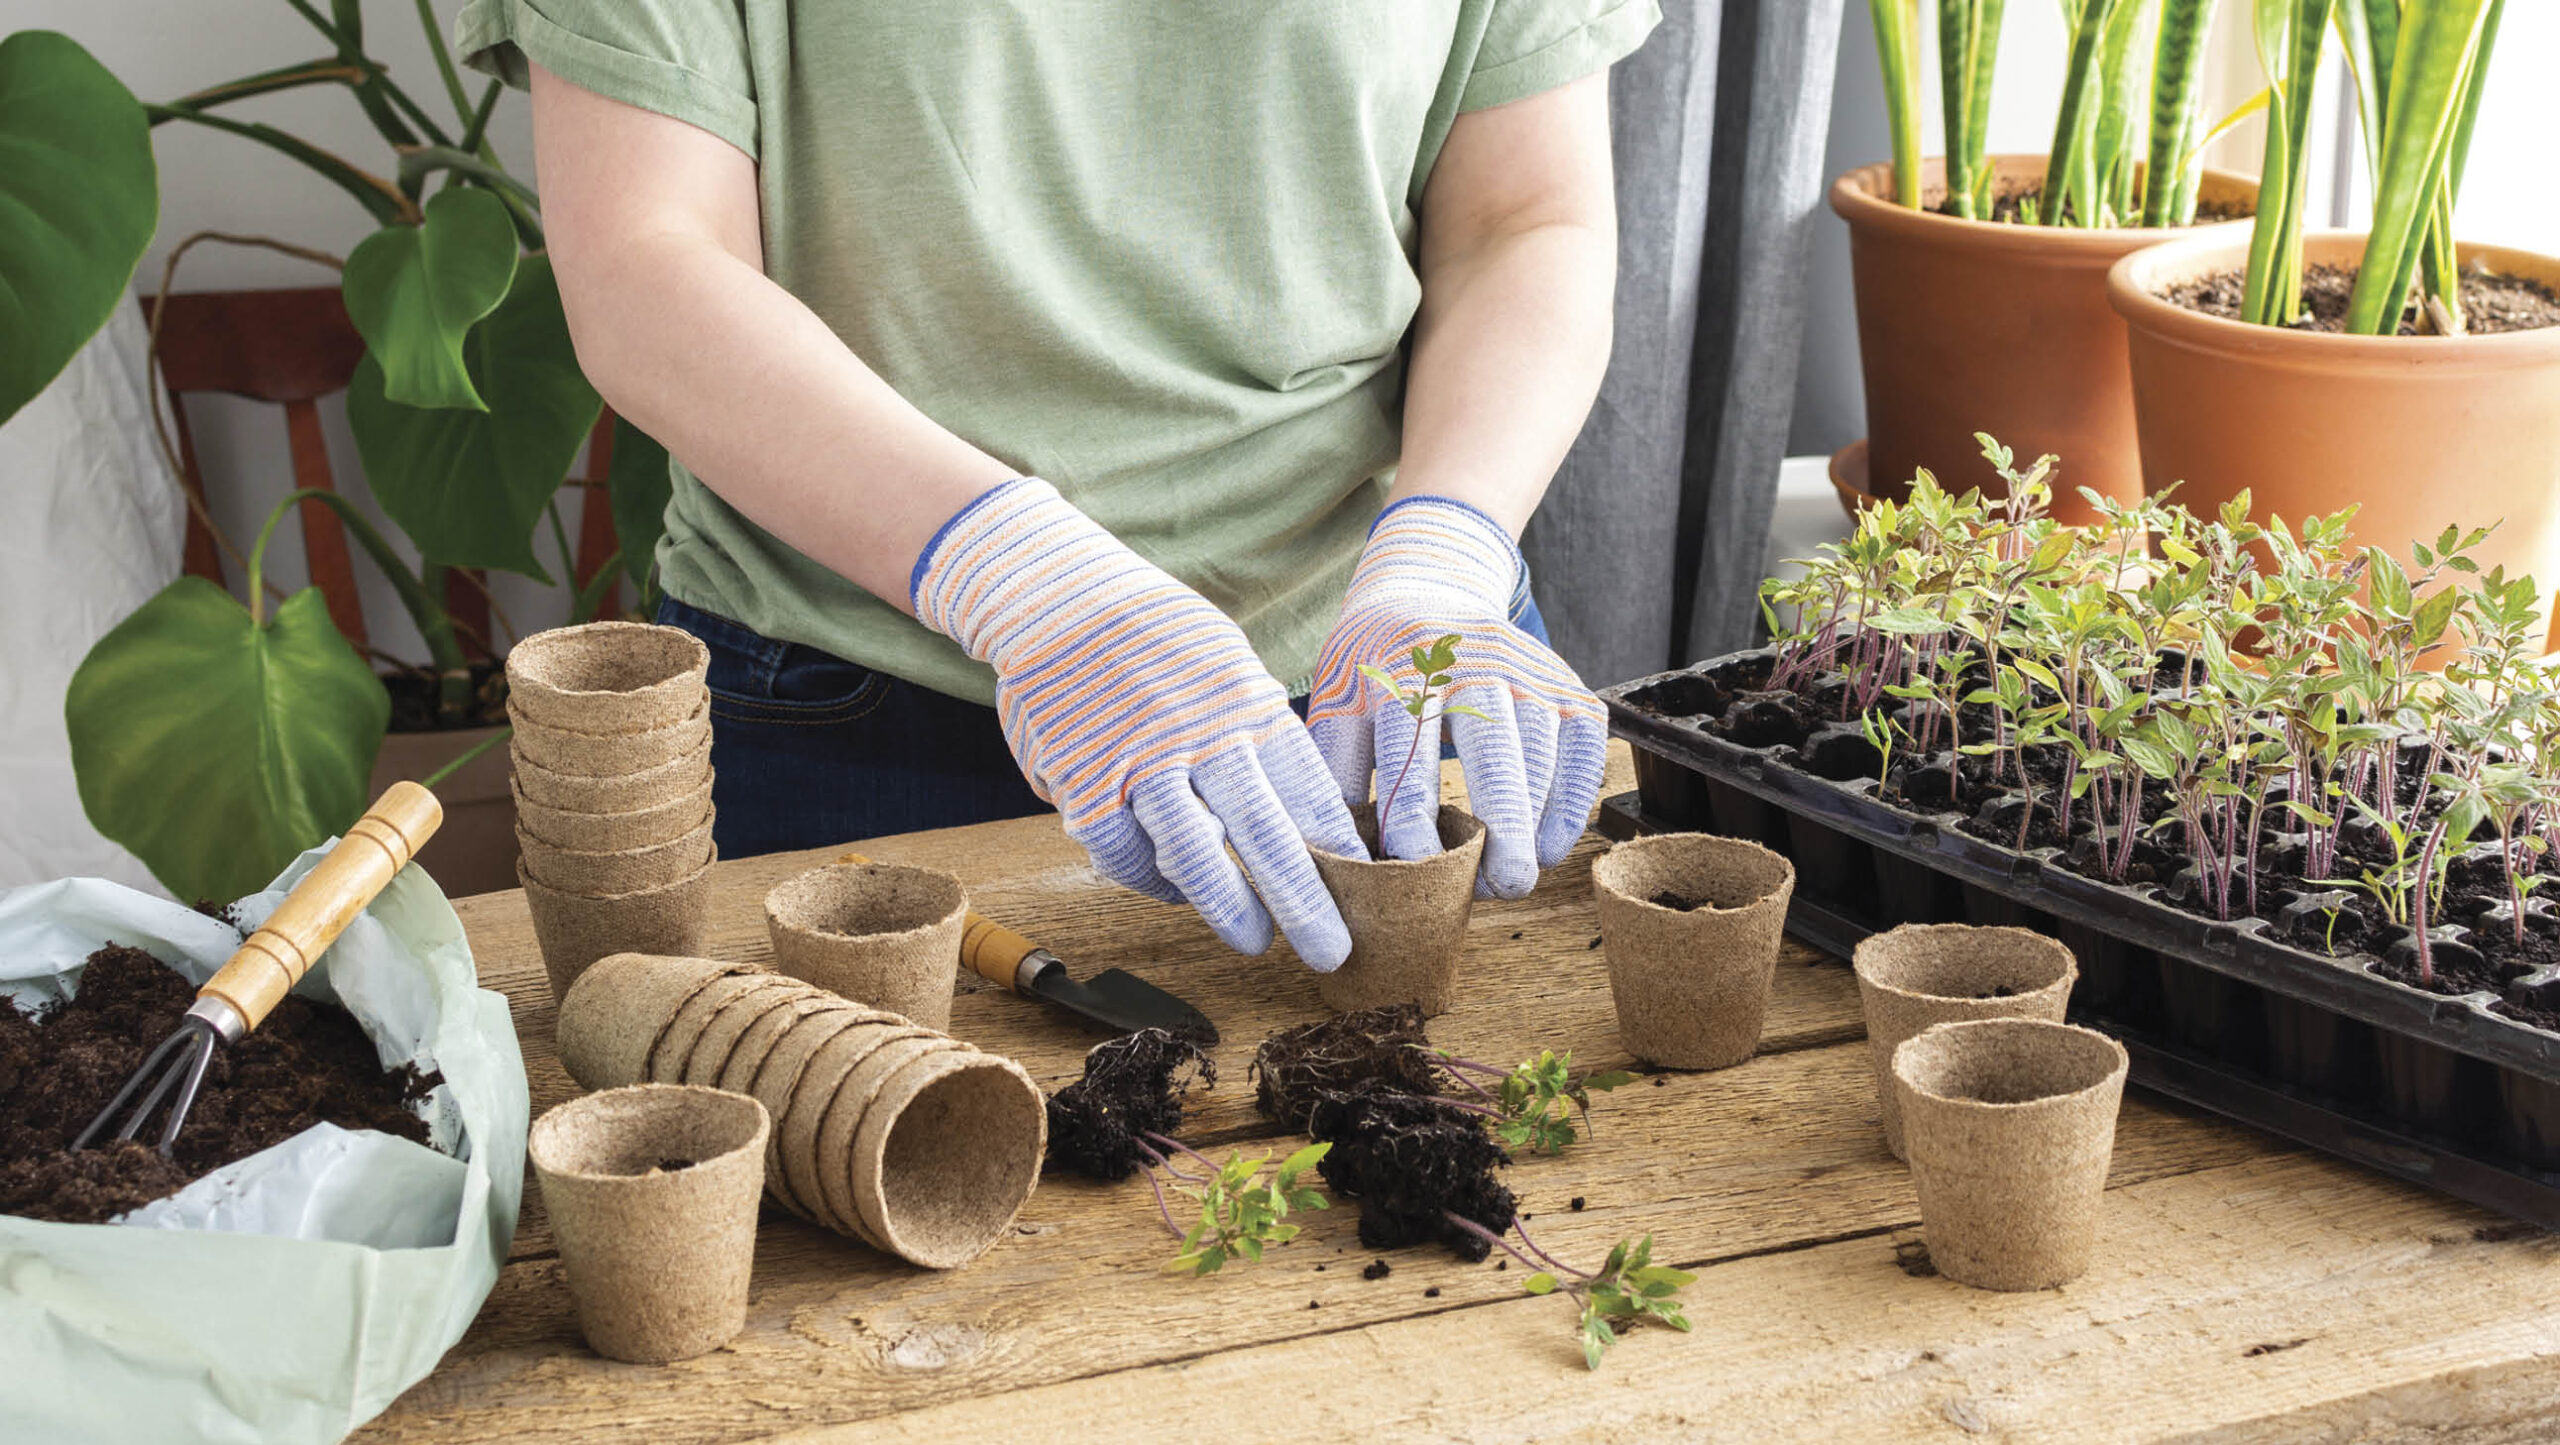
You can choose between flat seedling trays with or without individual compartments (or use egg cartons), or compostable mini pots for single seedlings. Also, individual pots are good for bigger seed and if you don’t want to prick out small seedlings into pots before planting out into the garden. Planting into pots or mini pots reduces root disturbance and effort. Look for coir/shredded wood pots that are planted into the ground with the seedling, decomposing into the soil.
If reusing seed trays, pots and other containers, first scrub them clean with dilute bleach. They need plenty of holes for drainage, and to be just 7–15cm deep: most seedlings have shallow roots.
Watering
Remember just three things for success:
1. Be regular: seed should never dry out.
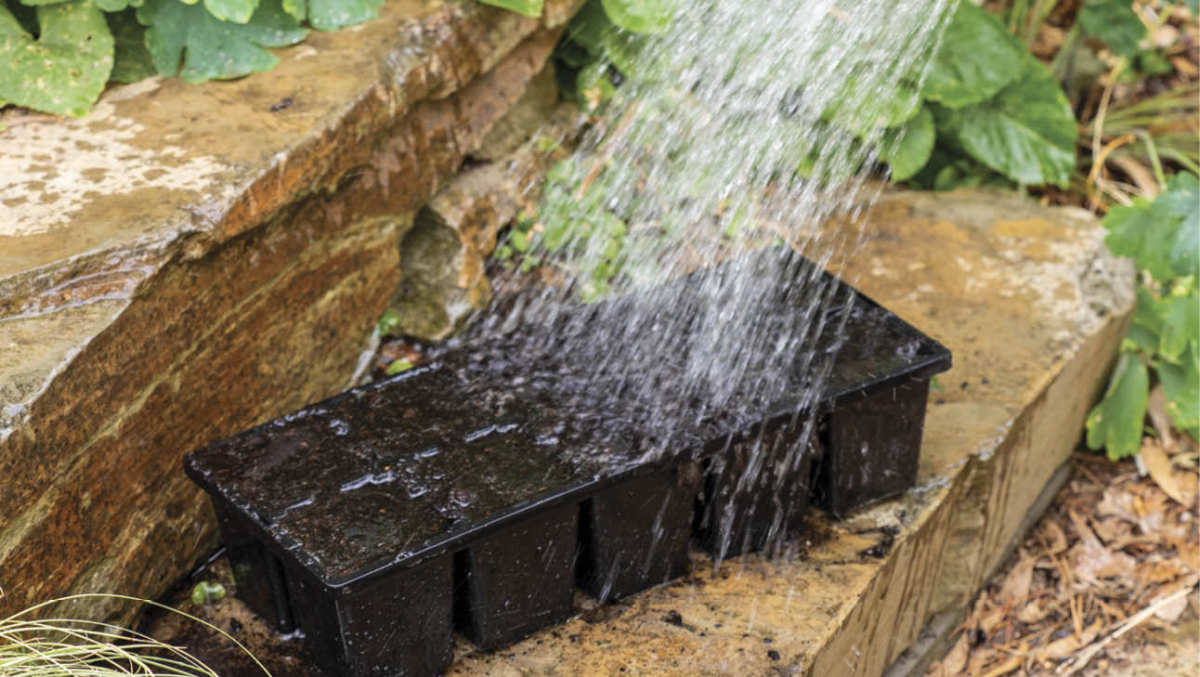
2. Use a soft rose that creates fine, gentle droplets.
3. When seedlings emerge, avoid watering in hot midday sun while they’re tiny: it’s like steaming spinach. Place shade cloth over containers or rows first, then water.
Sowing into containers
Seed in containers is easier to protect from pests, and it’s also easier to maintain consistent temperature and moisture. Different seeds require different spacing and depth, which is always on the seed packet – a good reason to save them! A rule of thumb for depth is 2–3 times the diameter of the seed, but there are exceptions: lettuce needs light to germinate, so sprinkle seeds on the surface and then gently firm them before watering thoroughly. Spacing is also important: crowded and over-wet seedlings get the fungal disease ‘damping off’. Again, follow packet instructions. You can water with cold chamomile tea to help prevent damping off.
Step by Step
1.Fill container with mix.
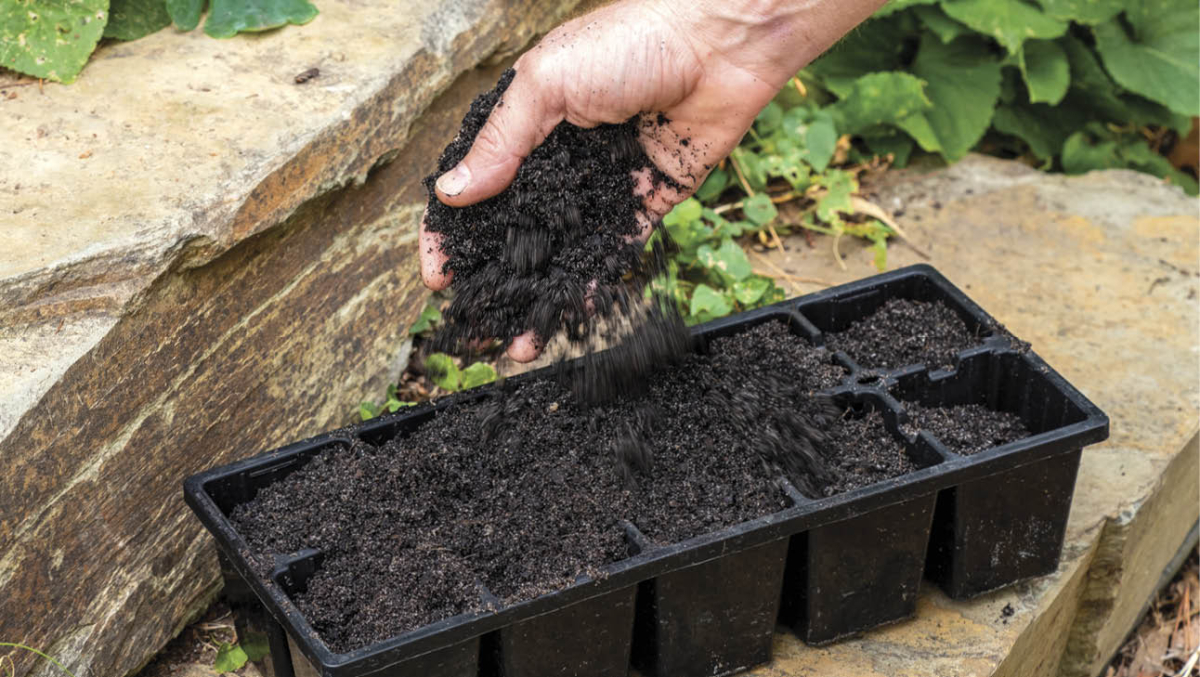
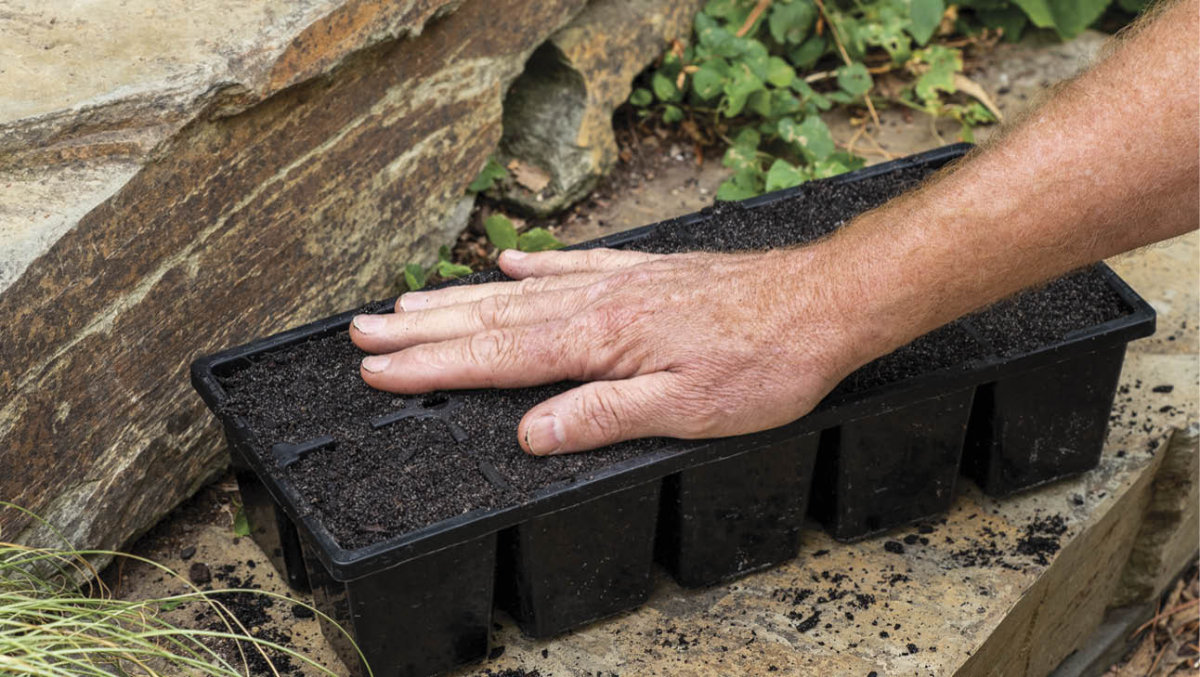
2.Smooth mix without compacting.
3.Moisten mix thoroughly.
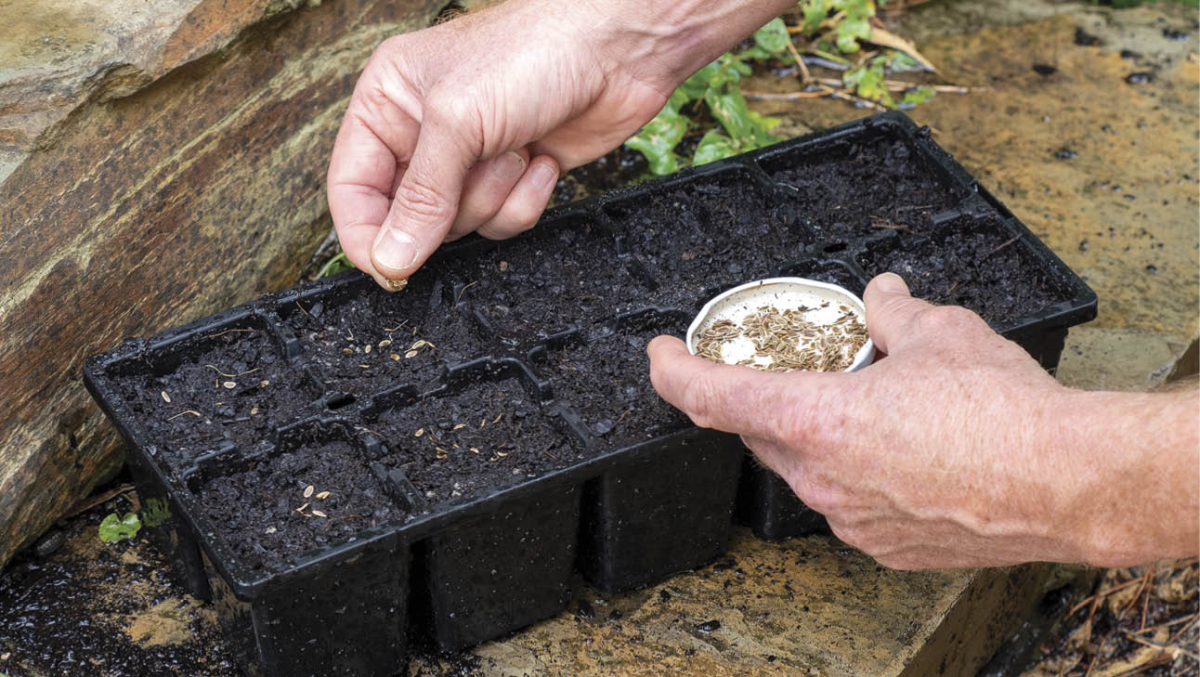
4.Sow seeds at required depth: either push them into
the mix or, for smaller seeds, sprinkle on the surface.
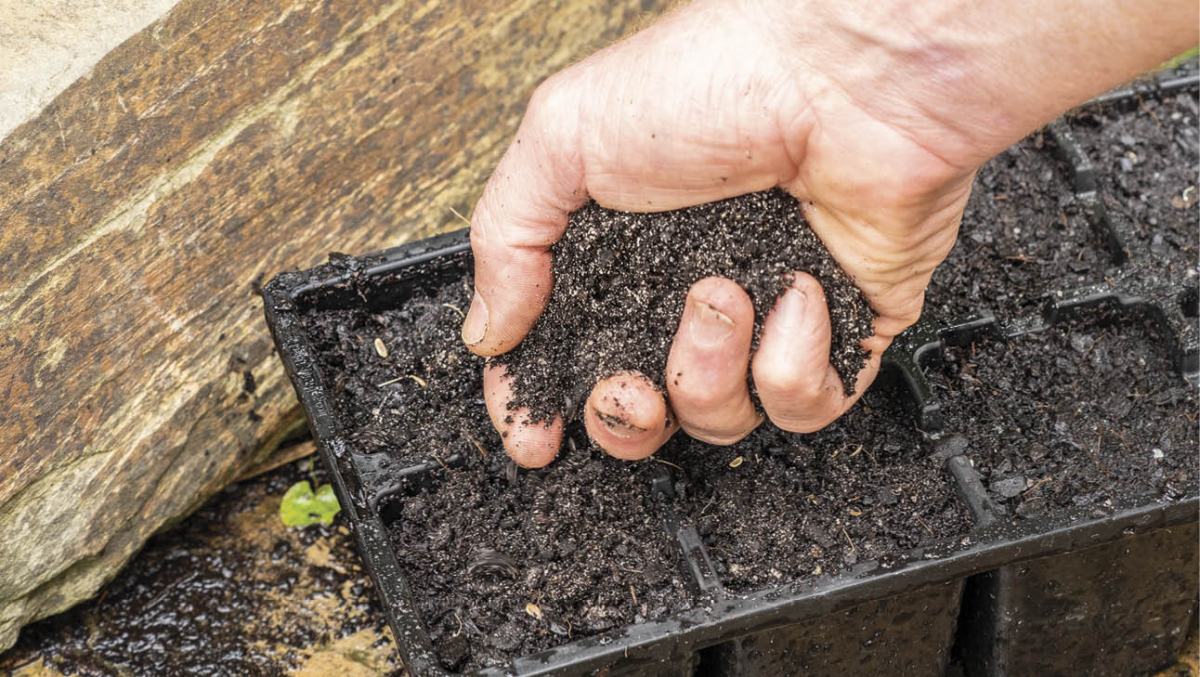
5.Cover with additional mix.
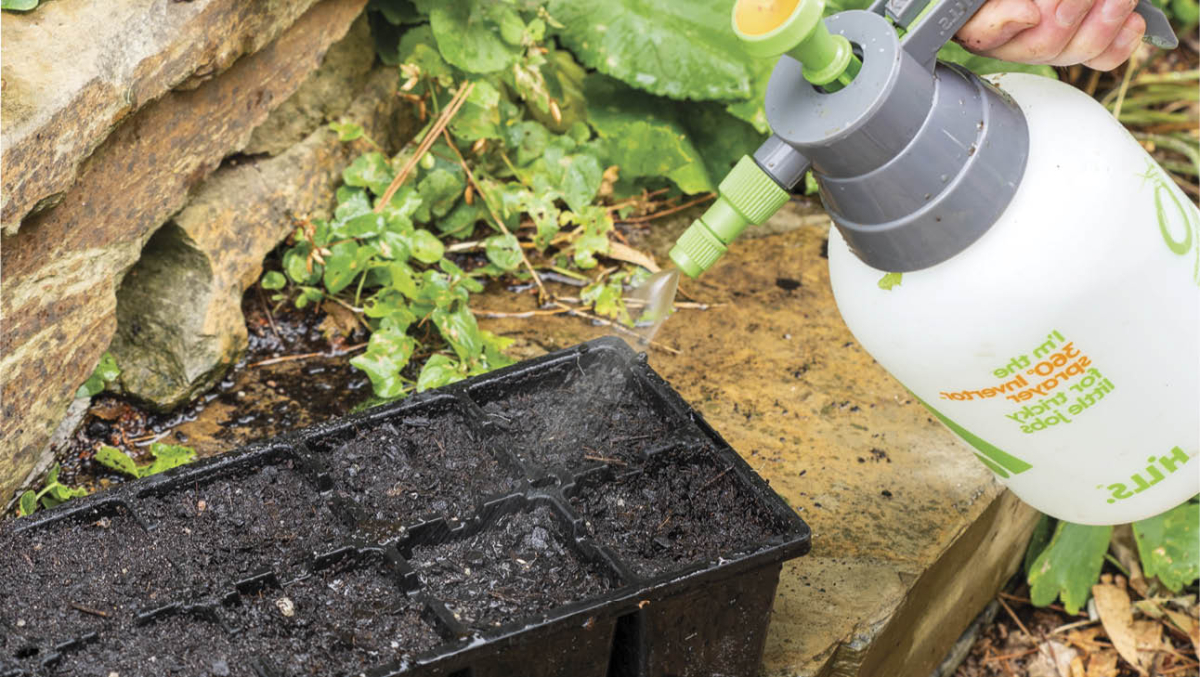
6.Moisten with a fine spray and check daily. Keep moist.
You can read Helen McKerral’s full article in our Autumn 2022 issue (OG 132) available here.
