Sweet as
2015-10-28T05:46:48+11:00
Boil the water, pick the corn, plunge into the boiling water and enjoy! says PENNY WOODWARD
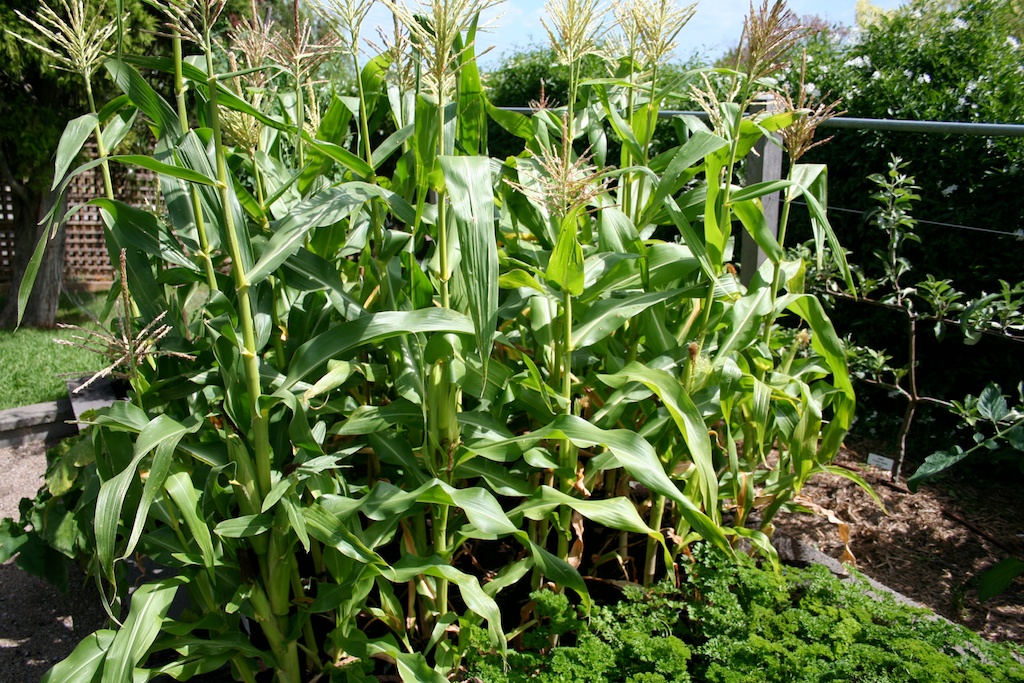
I’m just about to plant sweet corn but why would I bother when its so readily available? Because you haven’t tasted true sweet corn until you have picked and cooked it straight from the garden. This is true of all organically grown fruit and vegetables, but very much more so of sweet corn.
I’m using the bed the chooks have been working over and I have just added well-rotted sheep manure and some blood and bone. I’ll be planting the corn as a block, 25cm apart in rows 50cm apart. Seed is best sown directly where it is to grow between 2 and 5 cm deep. If its really hot in your region then go for the deeper depth. Water well before and after planting but then leave until you see the green tips poking through as overwatering can rot seeds. Although with the intensely hot days we are already having you might need to break that rule.
There are three main types of sweet corn: standard, sugar-enhanced and super sweet. This is quite apart from maize which is a type of corn grown mainly for its starch content, rather than the sweet juiciness of the kernels, but that’s another story.
Sweet corn is planted in late spring in temperate regions, September to January in the sub-tropics and all year in the tropics. It likes a pH of 5.5-7 (so acid to neutral), a nutrient rich soil and copious water during cob production.I also mulch thickly once the plants are growing strongly. Plant only one variety at a time as cross-pollination between different varieties (especially if one is a sugar enhanced variety) can result in starchy, rather than sweet and juicy, cobs.
Once your corn plants are up and growing strongly water fortnightly with fish emulsion and seaweed extract. When plants are over 50 cm tall, mulch with more well-rotted manure and a good thick layer of pea or lucerne straw, 20 to 30 cm up the plant stems. This encourages the growth of stem roots that increase the ability of the plants to extract nutrients from the soil. Mulching also prevents weeds growing.
When the silk shrinks and turns brown (about 18 days after the silk first appears) and the cob angles out more from the stem, the cob is now ready to harvest. If you want to check for ripeness, carefully peel back a bit of the leafy sheath, and puncture a kernel, a milky liquid will come out. If it is watery it is too early, if there is no liquid it is too late. Once harvested the sugars in the cob start changing to starch, so eat as soon as possible. Traditionally you put the water on to boil, once it is boiling run to the garden and pick the corn, run back pulling off the leaves, put the corn straight in to the pot, cook and eat immediately! If you do need to store them for a while put them in the refrigerator.
Pests and diseases
Corn earworm moth can be a serious problem for corn. The pupae of these moths live in the soil so by digging deeply before planting you will disrupt the life cycle and so minimise their effect. The adult moths lay eggs on the cob that hatch and the small caterpillars burrow into the cob. Look for the eggs and caterpillars and squash them. Encourage beneficial insects by planting things like parsley, dill and coriander and allowing them to flower. Or spray with a molasses and water mixture to kill the caterpillars.
Standard (su): Eat this corn soon after harvest as otherwise the sugars convert to starch and they lose their sweetness. Open-pollinated corns are all this type. My favourites are Golden Bantam and Balinese and these are the only ones I grow.
Sugar enhanced (se): Sugar content is higher standard types so cobs are sweeter and more stable after harvesting. All of these are F1 hybrids.
Supersweet (sh2): Very sweet types that maintain their sweetness for up to 10 days but the skin of each kernel is tougher than other types and some of the true ‘corn’ taste is lost. All of these are F1 hybrids.

